⬇️ Prefer to listen instead? ⬇️
- 🧪 Mycelium grows on millet faster than most grains. This is because millet has more surface area and a good water balance.
- ⏱️ The no soak grain method cuts preparation time from over 12 hours to under 3 hours.
- ⚠️ Grains with too much or too little water greatly raise the risk of contamination.
- 🔬 Pressure sterilization is needed for this no soak method to work. There is no way around this.
- 🌾 Millet and wheat work better than other grains with the no soak method. They hydrate evenly and help mycelium spread well.
Many mushroom growers like the process but do not like the preparation. Soaking, simmering, drying, and sterilizing grains can easily take up a whole day. But there is a new method called the no soak, no simmer grain spawn tek. This method skips all the hydration prep. With the right grain and water mix, you can make the process easier. You can also still get good quality, colonized grain spawn mushrooms quickly and well.

Why Grain Spawn Is the Main Part of Mushroom Growing
For growing mushrooms, grain spawn is the key material. It carries living mycelium into nutrient-rich growing beds. Think of it as the seed for mushrooms. Without strong, clean, and completely colonized grain spawn, your whole grow might fail or not give enough mushrooms.
Traditionally, preparing grain spawn takes many steps. The soaking process lets the grains take in water, which softens their outer parts and gets them ready for mycelium to grow. Simmering pushes water deep into the grain kernel. This helps reduce any dry spots inside. Drying the grains after simmering stops them from getting too wet and without air during sterilization. If they are too wet, bad bacteria can grow. Finally, pressure sterilization at 15 PSI kills any remaining harmful germs.
These steps are important, but they also take a lot of time. For hobbyists, this might just be a small problem. But for commercial growers or those with little time, the work and time needed can slow down production. Finding other methods, like the no soak grain tek, offers big benefits.

What Is the No Soak, No Simmer Tek?
The no soak grain spawn tek is a shortcut. It greatly reduces prep time because the grains take in water during the sterilization process. Dry grain goes into canning jars or grow bags with a set amount of water. Once sealed, the whole unit is sterilized in a pressure cooker or autoclave. The heat and pressure from cooking cause the grains to soak up water inside.
This process is simple, and that is what makes it so appealing. By not soaking or simmering, you skip hours of active work and big cleanup jobs. But, what it saves in effort, it needs in accuracy. The correct water to grain amount is key for steady hydration. Too little water means the mycelium will not spread well. Too much water makes soggy, contaminated spawn.
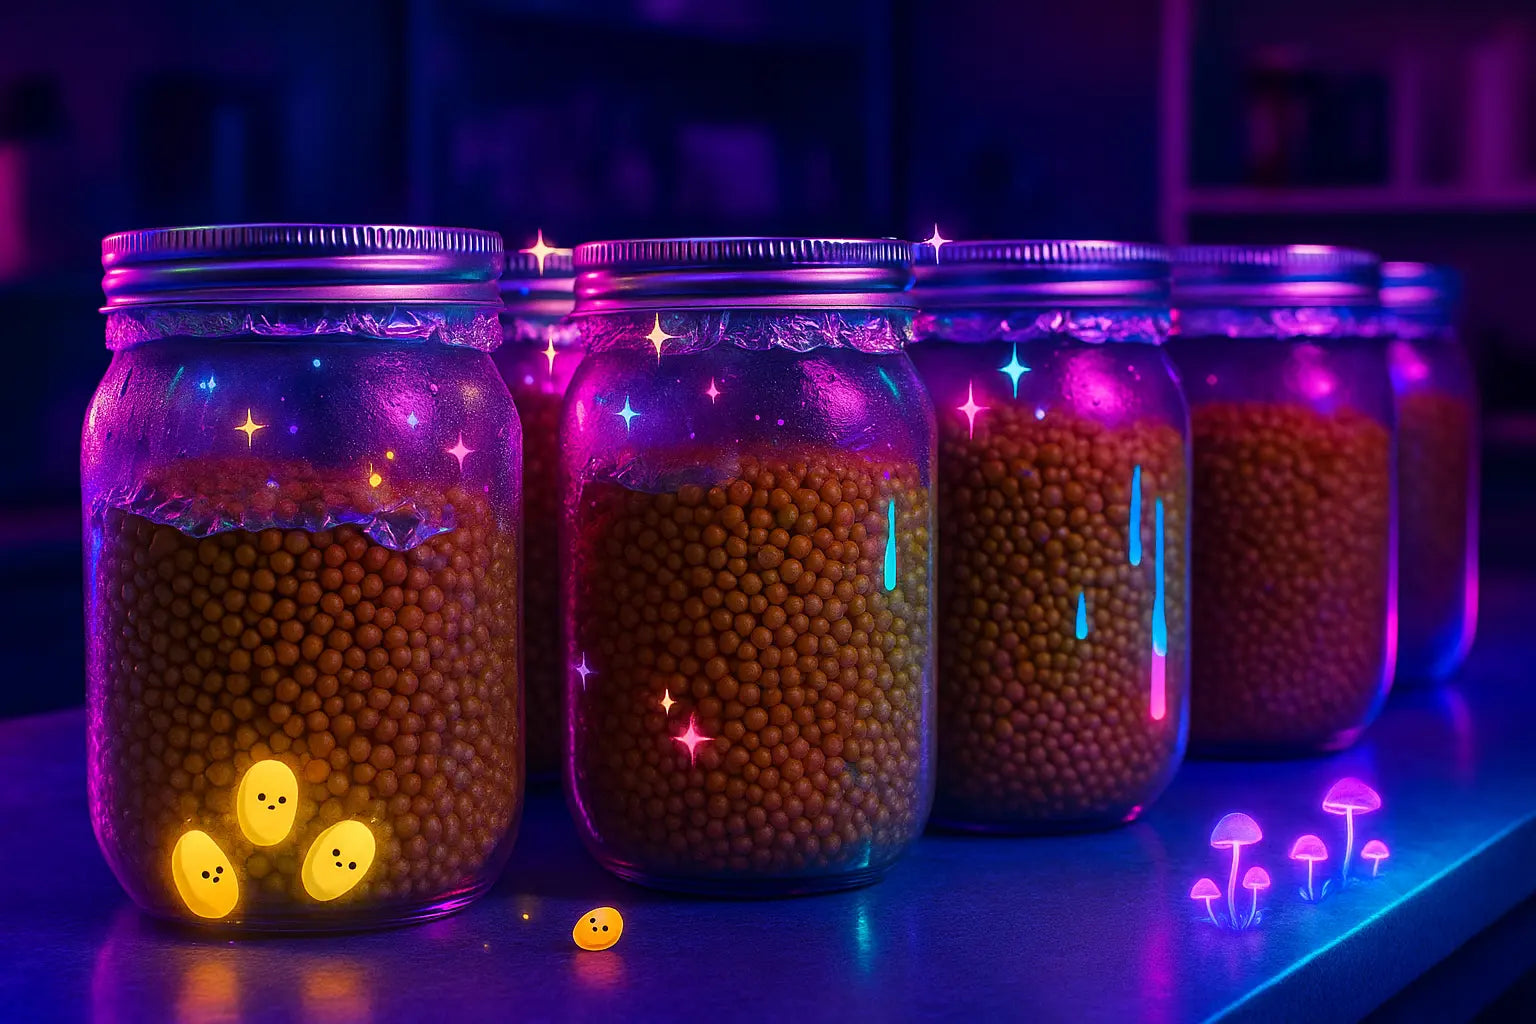
Usually, grains like millet, wheat, and even whole oats work well. This is because they take in water well and keep their shape under pressure. This method depends on knowing your chosen grain. You need to know how much water it can soak up, how long it takes, and how it acts under pressure.
Why Skipping the Soak Still Works
The reason the no soak method works is in how water and pressure act under heat. When grains are pressure-cooked at 15 PSI (about 121°C or 250°F), water molecules quickly get into the dry grain parts. This makes them swell and soften. This heat action makes sure the grains get wet inside even without earlier treatment.
According to Stamets (2000), mycelium grows best when grain moisture is around 60%. The pressurized space inside the sterilizer creates perfect conditions for this hydration to happen. There is no need for earlier treatment. As long as you measure the water correctly and spread it out evenly, your grains will be fully sterile and ready for colonization.
But, unlike the traditional method where you can see the grains at each step, the no soak method is not clear. You will only know if your amounts were correct after the sterilization cycle finishes. So, water management and measurement are key to success.

Why Millet and Wheat Are Top Choices for No Soak Tek
Choosing the right grain can make or break your no soak tek. Millet and wheat are most used by growers with this method for several important reasons.
Millet:
- Small size means more total surface area for mycelium to grow on. This makes for quicker and stronger spread.
- Even hydration: Millet soaks up water evenly. This helps reduce dry spots inside that can stop mycelium from growing.
- Does not clump: When measured and cooked right, millet keeps its shape and does not stick together.
- Gets a lot of spawn from a little bit: Millet's small size allows for tight packing without stopping airflow.
Wheat:
- Easy to find and often costs less than special grains.
- Larger size compared to millet, giving a better structure for some mushroom types that do well with more packed spawn points.
- Handles water changes well, so it is ok if water amounts are a little off.
- Good for a wide range of mushroom species, from oysters to lion’s mane to reishi.
Suggested starting water amounts:
- Millet: 300–350 ml of water per 1 kg of grain.
- Wheat: A little less water. About 250–300 ml per 1 kg, depending on how dry the kernels are and how much moisture is in the air.
Research shows how well these grains work. For example, Bano & Rajarathnam (1988) and Royse (2010) found that millet helps mycelium grow fast at the start. This helps growers finish the spawn stage sooner. This is important in commercial or tight-schedule settings.
Benefits of No Soak Grain Spawn Tek
Using the no soak method brings many benefits. This is true especially for city growers, teachers, or commercial growers wanting to grow more:
- ⏳ Time-saving: Prep time goes from 12–24 hours to under 3 hours total.
- 🧼 Cleaner process: No need for straining, drying tables, or messy kitchens.
- 💧 Saves water: Uses only the water needed for soaking. No extra water is poured out.
- 🛠️ Needs less equipment: You do not need large pots or drying tools.
- 📈 Can be repeated: It is easy to repeat for many jars or bags, which is important for mid-size to commercial farms.
- 🌎 Better for the environment: It uses less water and energy, especially with reusable containers.
Overall, this method offers a good way to make the early steps of mushroom growing simpler. It does not have big downsides if done correctly.
Downsides: What You Must Watch Out For
Even with its benefits, the no soak method has problems:
- 🎯 Needs high accuracy: Wrong water amounts are the main reason this method fails.
- 💥 Bursted grains: Overcooked grains break open and turn mushy. This chokes the mycelium and lets bacteria grow.
- 📉 Uneven hydration: If water is not spread out well, it can lead to parts of the grain not colonizing, especially in bigger containers.
- 🦠 Contamination risks: Skipping the soak means you miss the chance to remove endospores by soaking in water for a long time. Not sterilizing enough can leave living bacterial spores (Vilgalys, 1997).
Compared to the traditional method, it is much harder to get right. There is less room for mistakes, so growers must be careful.
Side-by-Side: No Soak vs. Traditional Tek
| Feature | Traditional Tek | No Soak Tek |
|---|---|---|
| Time Needed | 12–24 hrs (with drying) | 2–3 hrs total |
| Equipment Needed | Many pots, strainers, racks | Pressure cooker, scale, jars |
| Contamination Risk | Lower, because of earlier soak | Higher without exact water control |
| Ease of Use | Many steps, but orderly | Simpler, but needs accuracy |
| Water Control | High with visual checks | Needs accurate measurement |
| Good for Species | All mushrooms | Fast growers preferred |
This comparison shows that the no soak method works best for growers who want to save time and keep things simple. This is true especially when growing fast-spreading types like oyster or lion’s mane mushrooms.
Pro Tips for No Soak Tek Success
Getting your method right early is important. Use these tips as your usual way of doing things:
- ✅ Hydrate grains exactly: Weigh both water and grain with a digital scale.
- 🏷️ Label each jar or bag: Write down the grain type, water amount, and date.
- 🧪 Add gypsum: A small handful (about 1–2%) stops clumping and gives calcium and sulfur.
- 🌡️ Pressure cook correctly: Cook for 90–120 minutes at 15 PSI to make sure it is fully sterile.
- 🧊 Cool before use: Heat helps bad germs grow. Let sterile jars cool for 12–24 hours before opening.
Think about keeping a grow journal. This can help you improve water and grain amounts based on real results.
How No Soak Tek Helps the Whole Grow Cycle
A high-performing jar of colonized no soak spawn becomes the center of your grow. It helps all main ways to add mycelium:
- 💧 Liquid Culture: Mycelium grows faster than with spore syringes.
- 🧫 Agar Transfers: Good for getting pure strains and reducing contamination.
- 🪵 Fruiting Growing Material: Spawn goes into bulk materials like sawdust, straw, or coco coir+vermiculite mixes for fruiting.
Mycelium health and speed at this stage determine how the rest of the grow cycle goes. The better your grain spawn, the better your growing material will work.
From Jar to Fruiting: Growing With No Soak Spawn
Here is how a practical grow might go:
- 🥣 Measure dry millet or wheat and water into jars.
- 🔒 Seal and sterilize at 15 PSI for 90–120 minutes.
- ❄️ Cool jars overnight to stop heat from killing anything.
- 🧫 Add mycelium using a clean agar wedge or liquid culture.
- 🌀 Shake jars at 20–30% colonization to spread out the mycelium.
- 🧺 Add spawn to bulk growing material.
- 🪴 Keep warm, then move to fruiting conditions with high moisture and fresh air.
In 5–7 weeks, you could get your first flush. You do this without the hassle of full soak-and-dry prep.

Pairing No Soak Tek With Low-Waste Growing
Being able to use resources wisely in mushroom growing is becoming more important. Using the no soak method with earth-friendly tools can make a big difference:
- Use glass canning jars instead of grow bags.
- Try polypropylene containers made to be sterilized many times.
- Switch to bulk growing materials in reusable tubs instead of single-use plastic liners.
- Dry and reuse spawn grains for small tests. This helps reduce waste before growing more.
The time savings of no soak also mean less water and energy use. This gives growers a more effective and environmental benefit.

Bonus: Making a Sawdust Block for Fruiting
You can make your grain spawn better by preparing a sawdust fruiting block. Here is an easy recipe:
- 🪵 5 parts hardwood sawdust (for example, oak or maple)
- 🌾 1 part wheat bran or soy hull pellets (for protein)
- 💧 Add water until 60% wet (squeeze test: only a few drops should come out)
- 🔥 Sterilize at 15 PSI for 2 hours
- 📦 Add no soak grain spawn in a clean space
This growing material will let your grain spawn spread fast. It will form strong mycelium networks that help grow big mushrooms.

Pressure Cookers: Your Key Tool in This Method
There is no way around it. Sterilization is a must-do part of the no soak grain method.
Tips for successful pressure cooking:
- 🕒 Cook for 90–120 minutes at 15 PSI no matter the grain.
- 💨 Make sure jars let out extra air for pressure to build up correctly.
- ⚠️ Never let pressure out fast. Let it cool down naturally to stop jars from breaking.
Buy reliable brands (All American, Presto) for reliable results and safety. Autoclaves are more exact but too expensive for some hobbyists.
 No Soak Tek for Beginners: A Friendly Starting Point
Starting well? Keep it simple:
- Use 1-quart glass jars with self-healing injection ports.
- Test small batches first before making more.
- Clean workspaces with alcohol or diluted bleach.
- Look for signs of colonization: white mycelium growth, no bad smells, no odd colors.
Once you have had one successful round, your confidence (and amount of mushrooms) will grow.
Is the No Soak Tek Worth Trying?
Yes, it is. This is true especially if you want things to be fast and easy and do not mind a little trial and error at first. Whether you are growing oyster mushrooms on a balcony or running a mid-sized commercial farm, the no soak grain method brings a simple, growable plan to your mushroom growing way of doing things.
Pair it with tough grains like millet or wheat. Get your water and grain amounts just right. Then, you will be saving time, making less waste, and getting the most from your grow in no time.
Want to make your setup simpler or get pre-mixed grain spawn? Check out Zombie Mushrooms' high-quality millet jars. They are ready for you to add your favorite mushroom types.
Citations
- Bano, Z., & Rajarathnam, S. (1988). Mycology of Volvariella species cultivated under Indian conditions. Mushroom Journal of the Tropics.
- Royse, D. J. (2010). A global perspective on the high five: Oyster mushroom, shiitake, white button, enokitake and wood ear mushrooms. World Society for Mushroom Biology and Mushroom Products.
- Stamets, P. (2000). Growing Gourmet and Medicinal Mushrooms (3rd ed.). Berkeley, CA: Ten Speed Press.
- Vilgalys, R. (1997). Fungal contamination control in mushroom production. Mycological Research, 101(12), 1479-1482.

