⬇️ Prefer to listen instead? ⬇️

- Indoor bucket cultivation of oyster mushrooms has grown 40% in urban homes since 2020.
- Reused food-safe buckets reduce costs and environmental waste in indoor mushroom cultivation.
- Ideal fruiting conditions range between 85–95% humidity and 60–70°F temperatures.
- Master’s mix substrate can significantly increase yields of lion’s mane mushrooms.
- Contaminants like Trichoderma often result from insufficient sterilization or poor airflow control.

Why Grow Mushrooms in Buckets?
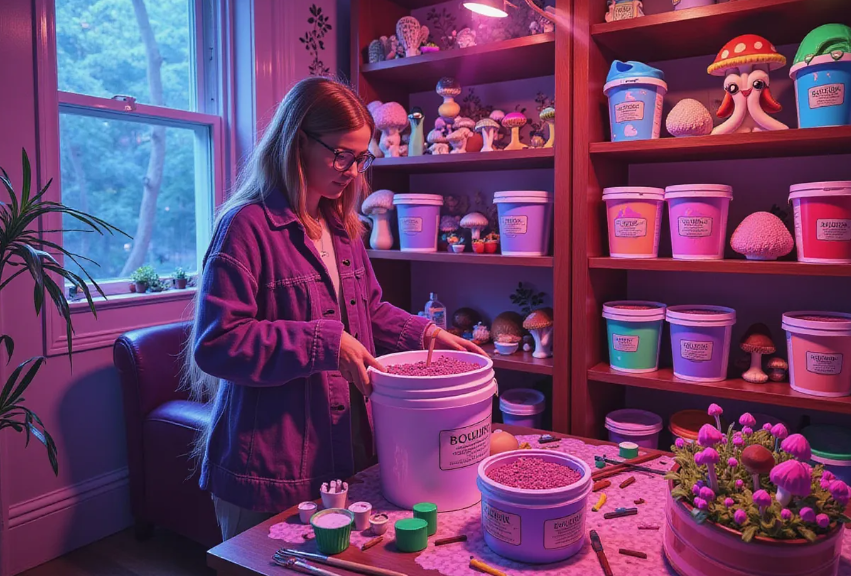
Mushroom bucket growing is a useful, easy method that's great for indoor mushroom fans of all levels. Here's why it's become so popular around the world—especially among apartment growers and DIY hobbyists.
Space-Saving and Flexible Setup
Buckets, usually about five gallons, are small enough to fit in tiny city spaces. You can put them in closets, under counters, on balconies, or in cabinets you don't use much. Unlike normal garden setups, you don't need raised beds or even soil—making mushroom bucket growing great for apartment living.
Eco-Friendly Approach
You can reuse plastic or food-safe buckets that would otherwise be trash, and most substrates (like straw and hardwood pellets) break down naturally and are left over from farming or milling. After you use it, the substrate can be composted or used as garden mulch, which fits with sustainable and zero-waste ideas.
Contamination Control
Because buckets are somewhat closed growing areas, there are fewer places where bad stuff like bacteria or molds can get in. Compared to growing in open beds or big tubs, buckets give more protection and lower the chance of losing your crop.
Budget-Friendly Efficiency
Growing mushrooms in buckets doesn’t take fancy tools or cost a lot to start. You can get a basic setup going for as little as $20–$50. Even better, what you get from one bucket can be up to 1–3 pounds per harvest, which is cheap in the long run compared to buying mushrooms at the store.
According to Urban Grow Journal, this way of growing saw a 40% jump among apartment growers in North America between 2020 and 2023 (Greenthumb, 2021). This increase happened at the same time as more people got interested in sustainable, food production at home and cottagecore self-sufficiency trends.

Best Mushroom Varieties for Bucket Cultivation
Not all fungi are the same for mushroom bucket growing. Some kinds do well in very controlled small spaces, while others like big spaces or special gear.
Oyster Mushrooms
Pleurotus ostreatus types—especially the blue-grey and yellow-gold kinds—are some of the best mushrooms for indoor bucket growing.
-
Blue-Grey Oyster: Very fast to fruit, tolerates humidity and temperature fluctuations—perfect for beginners.
-
Yellow-Gold Oyster: Bright color, strong visual appeal; slightly more demanding humidity control but still bucket-friendly.
Oyster mushrooms are over 25% of all grown mushrooms worldwide, mostly because they fruit fast and can grow on many kinds of substrate (Royse, Baars & Tan, 2017).
Lion's Mane (Hericium erinaceus)
Lion’s mane is a favorite of foodies and is good for brain and nerve health. These mushrooms grow in clumps that look like brains or pom-poms and taste a bit like lobster when cooked.
- Challenges: Needs high humidity (90–95%) and better airflow. It takes longer to grow than oysters.
- Advantages: Sells for more money and is medicinal because of things in it that help nerves grow back.
Growing a variety suited to your environment makes the difference between a few mushrooms and consistent, high yield over several flushes.
Other Potential Species
If you're okay with more complex growing, you could also try:
- King Oyster (Pleurotus eryngii): Needs CO₂ levels controlled to get thick stems.
- Chestnut Mushrooms (Pholiota adiposa): Grows slowly but looks great with amber caps.
Most home growers find oyster types are best for easy, reliable indoor growing.

Substrate Choices for Bucket Mushroom Growing
Your substrate determines nutrition, moisture retention, and yield. Here are top choices:
Common Bucket-Friendly Substrates
Straw
- Best For: Oyster mushrooms
- Prep Requirements: Make it germ-free with hot water or hydrated lime
- Pros: Cheap, easy to get, breaks down well for reuse
Straw should be cut into 1–2-inch pieces to get the most surface area and grow faster.
Hardwood Pellets + Soy Hulls (Master’s Mix)
- Best For: Oyster and Lion’s Mane mushrooms
- Prep Requirements: Make it germ-free by pressure cooking
- Pros: High yields, lots of nutrients
Master’s Mix is often seen as a professional substrate that can really increase how many mushrooms you get and how good they are.
Coco Coir + Vermiculite
- Best For: Psilocybe species (legal status changes by place)
- Prep Requirements: Can be made germ-free with boiling water
- Pros: Holds water well, common in more advanced home grows
Tip: Always use the right substrate for the mushroom type and growing setup. Using the wrong one can stop growth or make contamination more likely.
Supplies & Equipment Checklist
Starting to grow mushrooms indoors in buckets doesn’t take a greenhouse or lab tools. Here's what you'll need
Basic Materials
- 5-gallon food-grade bucket (with lid if you want)
- Substrate you pick (like straw, hardwood pellets, Master's Mix)
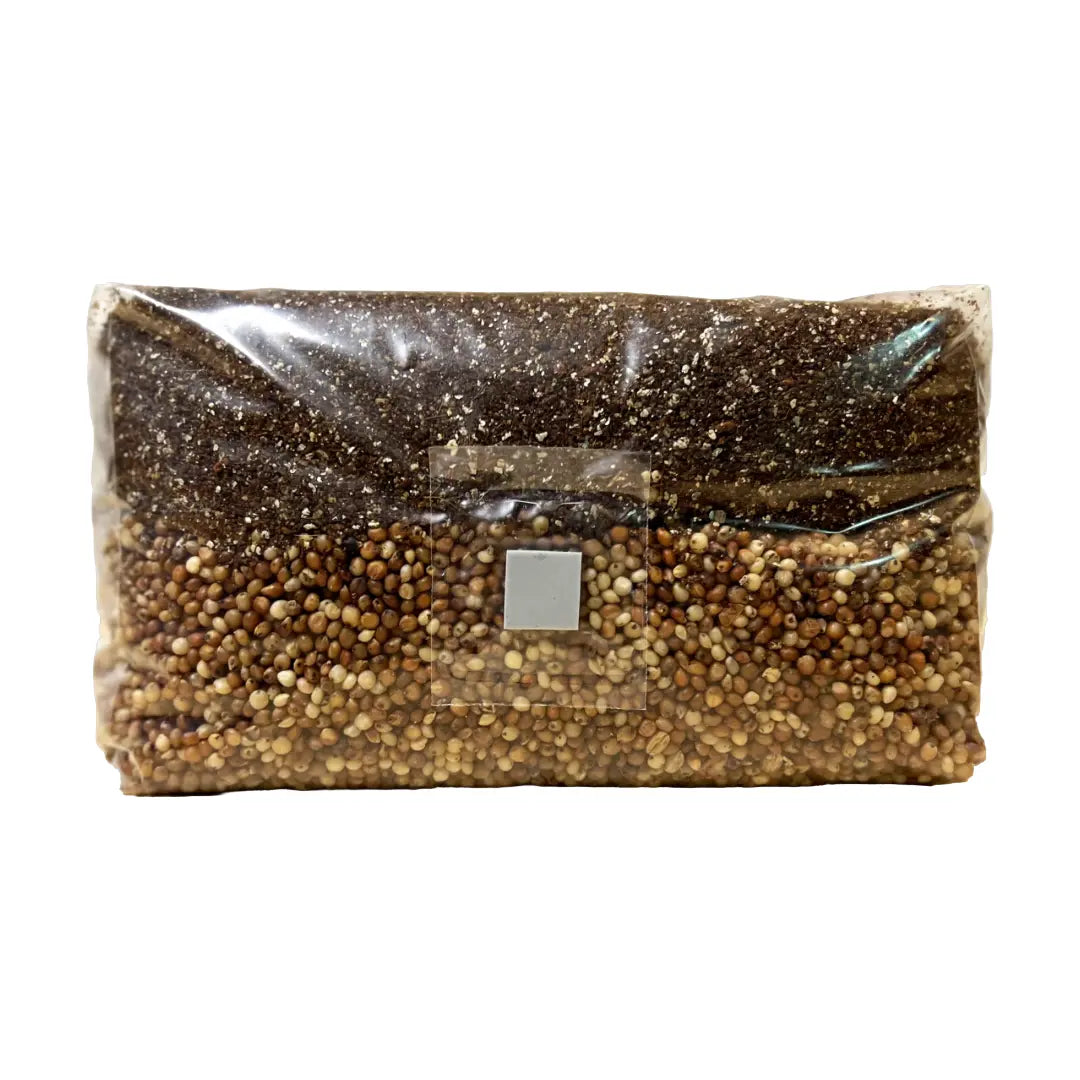
- Mushroom spawn (grain spawn is best for beginners)
- Drill with ½" hole saw bit (for air holes on the side)
- Breathable cover (paper towel, polyfill lid, or micropore tape)
Environmental Controls
- Spray bottle or ultrasonic humidifier (to keep humidity levels up)
- Hygrometer & thermometer (best humidity: 85–95%; temp: 65–75°F)
- Indirect light source (12 hours a day, like a desk lamp or LED strip)
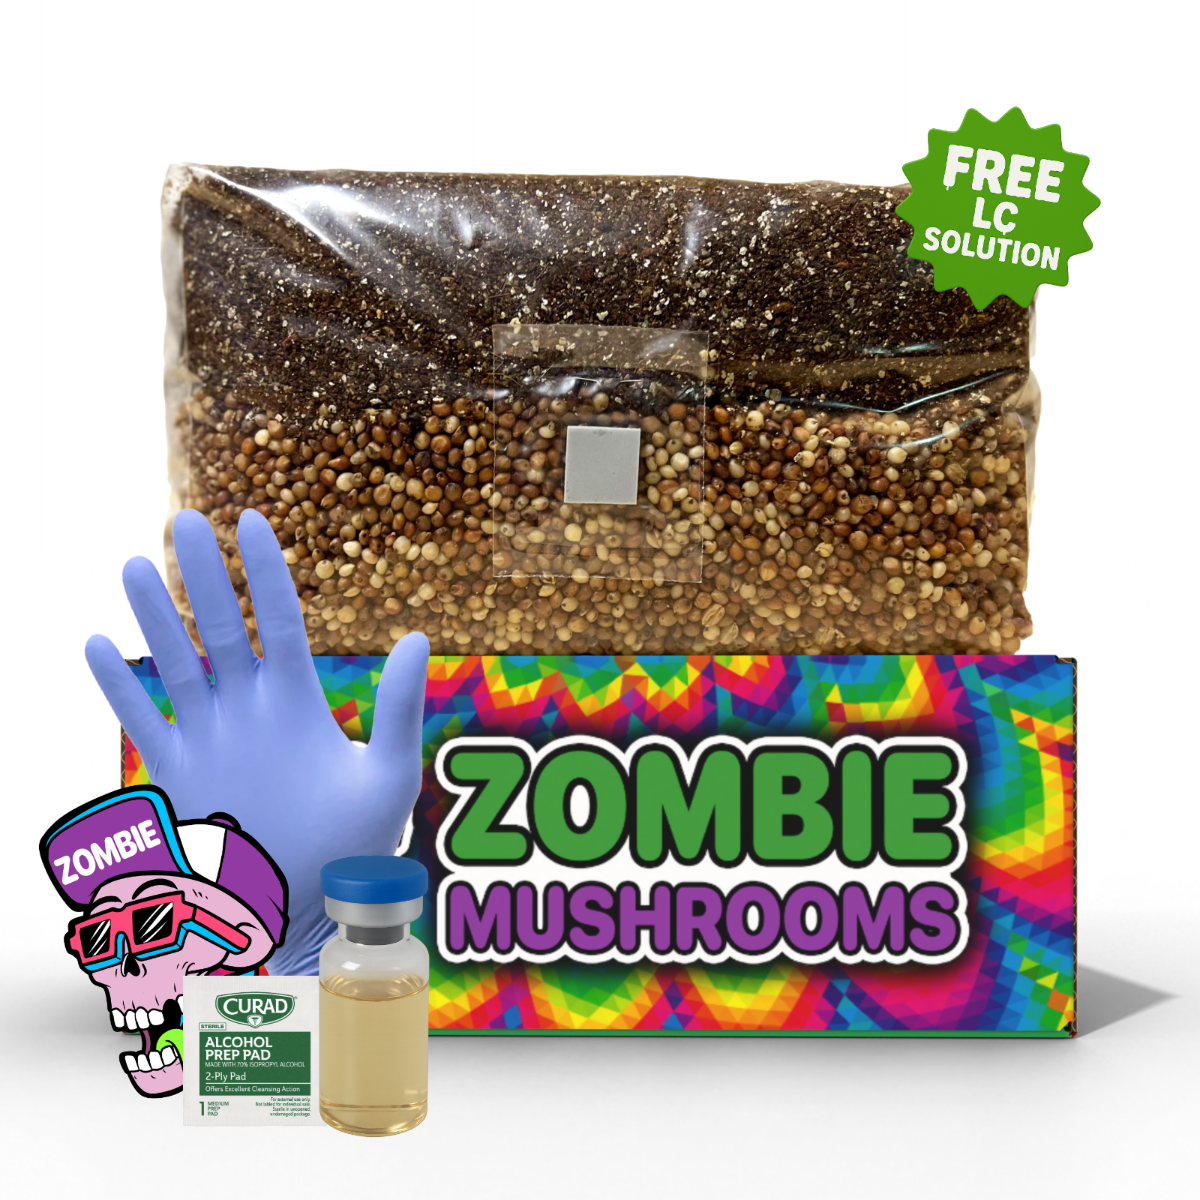
You can choose pre-made kits like from Zombie Mushrooms, which have substrate and spawn that's ready to grow—great for skipping early mistakes.

Step-by-Step: How to Grow Mushrooms in Buckets
Here’s a simple guide to start growing mushrooms in buckets from the start.
Prepare Substrate
- Straw: Chop it, then make it germ-free in 160°F water for 1 hour or treat it with hydrated lime.
- Hardwood Pellets: Add boiling water to them or make them germ-free in a pressure cooker for 90 minutes at 15 PSI.
Let the substrate cool to 75°F before mixing in spawn.
Drill Bucket Holes
- Drill 8–12 holes that are ½" wide around the bucket sides and 3 on the bottom, spaced out evenly.
- This lets fresh air in and gives mushrooms places to grow out of.
Spawn Mixing and Bucket Layering
- Mix spawn well into the wet substrate.
- Put layers of substrate and spawn in the bucket like lasagna.
- Press down each layer a little to get rid of big air pockets.
Incubation
- Cover the bucket with a lid that breathes or plastic wrap with holes poked in it.
- Keep it in a dark, steady place (closet or under a sink) at 70–75°F.
- Wait 10–21 days for it to grow fully. Mycelium should make the substrate bright white.
Fruiting Conditions
- Once it's grown fully, move it to a place that's more humid and has some light.
- Mist the bucket holes 2–3 times a day or put it in a humidity tent.
- Keep humidity at 85–95% and light for at least 12 hours every day.
Harvesting
- Mushrooms show up within 3–7 days after you start fruiting conditions.
- Harvest when the caps start to flatten out but before the edges curl up.
Managing Your Indoor Environment
The environment is very important for mushroom bucket growing to work.
Humidity
- Goal: 85–95% while fruiting
- Use: Ultrasonic or cool-mist humidifiers, misting often
- Tools: Hygrometer to check and change levels
Temperature
- Incubation: 70–75°F
- Fruiting: 60–70°F
Warm places make them grow faster; cooler temps start fruiting.
Light
- Needed for growth to go in one direction (not for food making)
- Put in light that's not right in the sun or under LED strips (12 hours light, 12 hours dark)
Best growth happens when humidity, temperature, and light are all steady during the fruiting time.

Troubleshooting Common Issues
Even growers who have done it a lot run into problems. Here’s what can go wrong and how to fix it.
- Colonization Stalling: Temperature too low or spawn not good. Make sure it's 70–75°F.
- Green Mold or Rotten Smell: Trichoderma or bacteria got in. Throw it out and clean everything.
- Pins but No Fruits: Humidity too low or air not moving. Mist more and get air moving.
- Slow Growth: Substrate too wet or dry. Squeeze test: It should drip a little when squeezed.
Using spawn from places like Zombie Mushrooms that tests it and makes sure it's clean lowers risks a lot.

Harvesting and Storage
Optimal Harvest Time
Mushroom size can double in a day when they are fruiting the most.
- Oyster caps should be firm and flat, not curved in or breaking.
- Lion’s mane should look like soft, hanging icicle clumps.
Harvest Techniques
- Gently twist mushrooms off the substrate.
- Use a clean knife to cut them if you need to.
Storage Tips
- Keep in paper bags in the fridge for up to 7 days.
- Dry them at 110–115°F for longer storage and for medicinal use.
- Store dried mushrooms in jars that seal tight with things to keep moisture out.

Reusing Buckets and Substrate
You can often get more than one harvest from one substrate.
Second or Third Flushes
Keep misting every day for 1–2 weeks after harvest. New mushrooms might grow if the substrate still has food and water.
Spent Substrate Uses
- Compost: Good carbon stuff for making soil better.
- Garden Mulch: Keeps soil moist and stops weeds.
Cleaning and Resetting Buckets
- Wash with hot water and vinegar or bleach (1 part bleach to 10 parts water).
- Let dry before starting the next round.

Get Started Faster with Zombie Mushrooms Grow Kits
Want to start quickly? Zombie Mushrooms has indoor mushroom growing kits ready to fruit made for bucket use. They have
- Pre-grown Blue-Grey Oyster kits
- Easy-to-fruit Yellow-Gold Oyster kits
- Lion’s Mane mushroom kits with lots of nutrients that grow slowly
- Discount deals with spawn and substrate together
Great for people doing it for the first time or anyone wanting something simple that just works.
Is Growing Mushrooms in Buckets Worth It?
Yes—definitely. For the cost, you can grow really good mushrooms at home for much less than store prices while learning to be self-sufficient. Bucket growing uses space well, is cheap, and makes a lot of mushrooms.
You control what nutrients are in them, get the best flavor, get several harvests, and use less packaging—all from your kitchen or closet.
It’s not just worth it—it changes things.
FAQ
-
How many mushrooms can you expect from a bucket grow?
Harvests vary—1 to 3 pounds per flush for typical bucket setups when using quality substrate and good conditions. Zombie Mushrooms -
Do buckets need holes for airflow?
Yes. Drill several ½-in holes around the sides and bottom of the bucket to allow fresh air exchange. This helps prevent CO₂ buildup and malformed mushrooms. Zombie Mushrooms -
What humidity and temperature are ideal for bucket fruiting?
During fruiting, aim for 85-95% humidity and daytime temperatures around 65-75°F (18-24°C). Keeping these stable ensures good pin development and fruiting. Zombie Mushrooms -
Can I reuse buckets and substrate for multiple flushes?
Yes. After harvesting, clean the surface, mist regularly, and maintain conditions. Some substrates yield second and third flushes if well-maintained. Zombie Mushrooms -
Is growing mushrooms in buckets worth the effort?
For most home growers, yes. Bucket growing is cheap, space-efficient, and delivers good yields. With proper setup and care, it often pays off more than store-bought mushrooms.
Final Thoughts: Joining the Indoor Fungi Movement
Growing mushrooms in buckets is more than just a fad—it's part of a bigger change toward being strong, not relying on big systems, and being creative with making food. No matter where you live or how much experience you have, you can start harvesting mushrooms you can eat or use for medicine in just weeks.
Want to learn more or make your setup better? Go to the Zombie Mushrooms Blog for how-tos, grow logs, and product reviews. Join a growing group of people who love fungi and are changing what’s possible in small spaces.
Citations
-
Greenthumb, J. (2021). “Urban Mycology in Small Spaces: The Rise of Bucket Cultivation.” Urban Grow Journal, 12(3), 34–41.
-
Royse, D. J., Baars, J., & Tan, Q. (2017). Current Overview of Mushroom Production in the World. In Zied, D.C., & Pardo-Giménez, A. (Eds.), Edible and Medicinal Mushrooms: Technology and Applications (pp. 5–13). Wiley-Blackwell.
-
Stamets, P. (2005). Mycelium Running: How Mushrooms Can Help Save the World. Ten Speed Press.


