⬇️ Prefer to listen instead? ⬇️

- Liquid culture colonization usually begins within 7–14 days, with significant variance across mushroom species.
- Mycelium growth thrives in temperatures between 75–81°F (24–27°C) for most common cultivars.
- Delays beyond 21 days without visible mycelium often signal contamination or non-viability.
- Liquid cultures outperform spores by delivering faster and more predictable colonization.
- Sterile technique and substrate quality are key determinants of successful colonization.
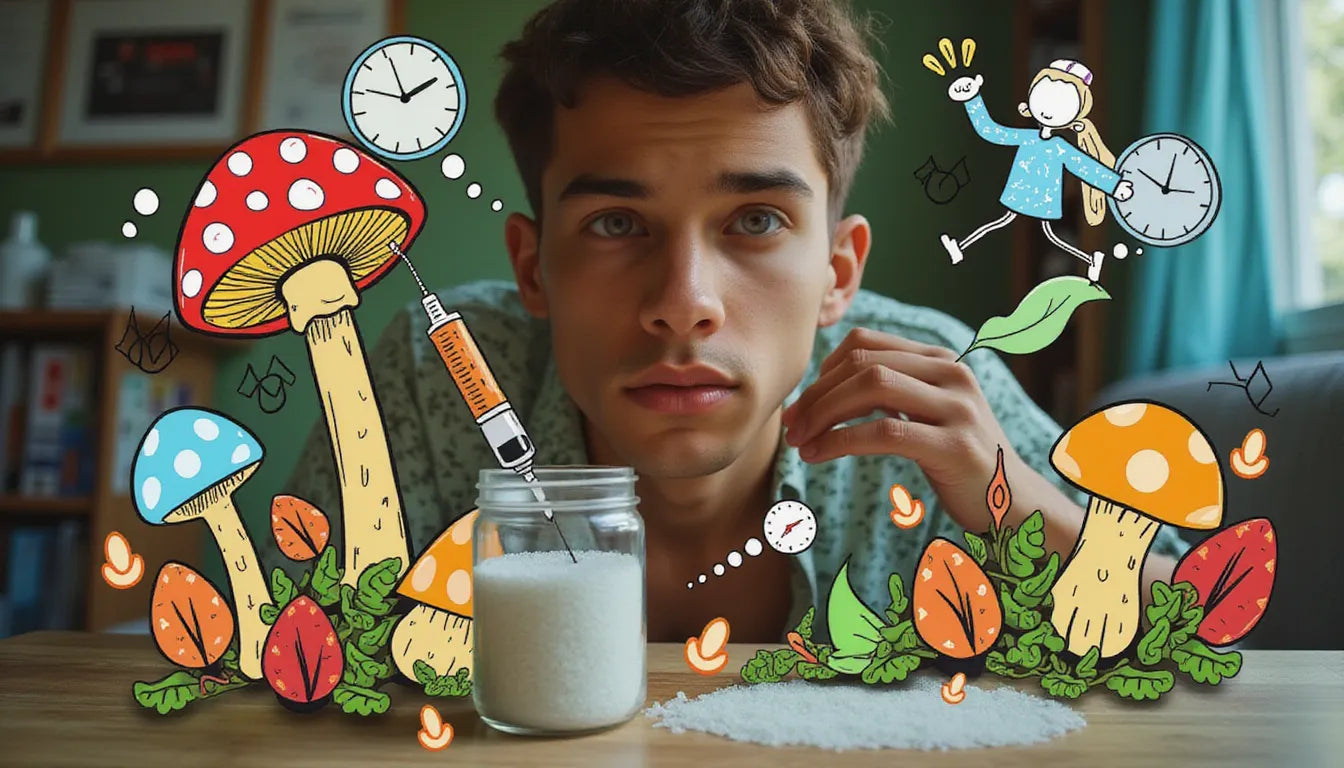
When growing mushrooms, timing is everything. One of the most important stages is liquid culture colonization—the period when mycelium spreads through its new substrate. Get it right, and you’ll enjoy fast, clean, and high-yielding harvests. Get it wrong, and you’ll lose time (and jars) to contamination.
For a reliable start, our liquid culture jar provides a fast-colonizing, contamination-resistant inoculant that sets the stage for strong and healthy mycelium growth.
So, how long should colonization actually take? And when is “too long”? Let’s break it down.

What Is Mushroom Liquid Culture?
Liquid culture (LC) is a nutrient-rich solution—often made with light sugars like honey, dextrose, or malt extract—where living mycelium is suspended and stored. Instead of starting from spores, you’re working with already-germinated, active mycelium.
That means:
-
Faster colonization times
-
More predictable results
-
Higher resistance to contamination
This is why many growers choose our Liquid Culture Syringes—they’re ready to inoculate straight into sterilized grain, eliminating the slow spore germination stage.
What Is Liquid Culture Colonization?
Colonization begins once you inject your liquid culture into a sterile substrate such as rye berries, millet, or brown rice. The mycelium spreads out, breaking down nutrients and forming the dense white network that supports future mushroom growth.
✅ What you’ll see: thin white strands (hyphae) radiating from the injection points, eventually weaving into full coverage.
✅ What you’ll smell: neutral to earthy, “fresh mushroom” aroma.
🚫 What you don’t want: green, black, or pink discoloration—or any sour/fishy odors.

Typical Colonization Timeline
Exact timing varies by species, substrate, and conditions, but here’s what most growers can expect:
| Mushroom Species | Typical Colonization Time |
|---|---|
| Oyster Mushrooms | 7–14 days |
| Shiitake | 14–21 days |
| Lion’s Mane | 14–21 days |
| Reishi | 14–28 days |
| Golden Teacher (Psilocybe cubensis) | 10–21 days |
General rule:
-
First white growth: within 5–7 days
-
Noticeable spread: by Day 10
-
Fully colonized jar: ~2–3 weeks
If nothing shows by Day 14, chances are high the culture is old, non-viable, or contaminated.
Factors That Affect Colonization Speed
Several variables make the difference between fast, clean colonization and a frustrating stall:
Temperature
75–81°F (24–27°C) is ideal. Cooler = slower, hotter = contamination risk.
Air Exchange
Mycelium produces CO₂. Use bags/jars with filters or injection ports for proper airflow.
Substrate
Grains like rye and millet colonize fastest. Sawdust or wood chips take longer.
Inoculation Technique
Shake your syringe, sterilize the needle, and inject 3–5 mL per quart jar.
Culture Freshness
Liquid culture loses viability over time. Fresh syringes (like ours) = stronger, quicker growth.
How to Maximize Colonization Speed
You can shave days (or even weeks) off colonization by dialing in your setup:
-
Start with verified sterile liquid culture syringes.
-
Inoculate into pre-sterilized grain spawn bags for consistency.
-
Keep colonizing jars at 76–78°F, away from sunlight or drafts.
-
Don’t over-handle or open jars prematurely.
-
Track progress daily in the early phase so you can catch problems fast.
Why Colonization Time Matters
A quick, healthy colonization phase means:
-
Less chance of contamination
-
More predictable fruiting schedules
-
Bigger, healthier harvests
-
More confidence for new growers
Every extra day uncolonized = more room for mold, bacteria, and lost crops.
Signs of Successful Colonization
Knowing what healthy mycelium looks (and smells) like allows growers to spot success early—and troubleshoot fast when necessary.
Visual Signs
- White, rhizomorphic strands fanning out from injection points.
- Substrate appearing consistently covered, with minimal gaps or patches.
- No discolored zones (green, yellow, black, pink).
- No pooling moisture or wet spots, which can suggest bacterial spoilage.
Smell Test
Healthy mycelium emits a neutral to slightly earthy mushroom aroma. Any sour, fishy, or overly sweet smells may indicate bacterial infection, especially if accompanied by stagnation or discoloration.
When Colonization Takes Too Long
It’s normal for some species (like Reishi or Shiitake) to move slower—but if you’re past the 2–3 week mark with no signs of growth, it’s time to troubleshoot:
-
Day 7–10: No growth? Check temps, shake syringe, and confirm viability.
-
Day 14–18: Still nothing? Culture may be contaminated or expired.
-
Day 21+: Toss it. Don’t wait—contaminants will take over.
👉 Pro tip: Always keep a spare jar or bag inoculated from the same syringe. If one stalls but the other thrives, you’ll know it wasn’t the culture.
Common Colonization Issues & Troubleshooting
Here’s a closer look at some issues you might encounter and their potential fixes:
| Symptom | Possible Cause | Remedy |
|---|---|---|
| No growth after 10 days | Dead/expired culture | Re-inoculate with fresh syringe |
| Slow but steady growth | Cooler temps, minor substrate imbalance | Adjust temperature/humidity |
| Stalled midway | Contaminants or substrate too wet | Inspect jar, consider discard |
| Bad smell | Bacterial contamination | Discard and clean environment |
| Colored contamination | Mold invasion from unsterile conditions | Discard immediately |
Learning to recognize early warning signs and act quickly protects your remaining batches and lessons future mistakes.

Tools & Supplies from Zombie Mushrooms
Mastering mushroom cultivation takes more than syringes—you need the right tools for frictionless results.
🛠️ Recommended Equipment:
- Pre-sterilized grain spawn bags for easy inoculation
- Agar plates for culture transfers or contaminant testing
- Laminar flow hoods & glove boxes for sterile environments
- Entire grow kits for complete turn-key grows
Set up your mushroom growing area thinking about how to avoid problems.
Final Takeaways
-
Colonization should start within 5–7 days and show clear progress by Day 10.
-
Most species fully colonize in 2–3 weeks under the right conditions.
-
Anything beyond 21 days with no growth = restart with fresh culture.
-
Success depends on sterility, proper environment, and (most importantly) quality liquid culture.
👉 Ready to grow with confidence? Try any of our Liquid Culture starters—fast, contamination-resistant, and beginner-friendly.
Happy growing, and may your jars colonize clean and quick!

