- Mushroom grain spawn is vital for mushroom growing to be successful, giving a firm starting point for mycelium to spread.
- Even though a sterile setting is helpful, do-it-yourself methods allow home growers to make grain spawn without fancy lab tools.
- Right amount of water, sterilization, and keeping it at the right temperature are important steps to make sure grain spawn is free from contamination.
- Best conditions for colonization are temperatures between 70–75°F with very little light.
- One jar that is fully colonized can be used to make many more by moving grain to grain, growing your mushroom growing projects.
Mushroom Grain Spawn: Can it be This Simple?
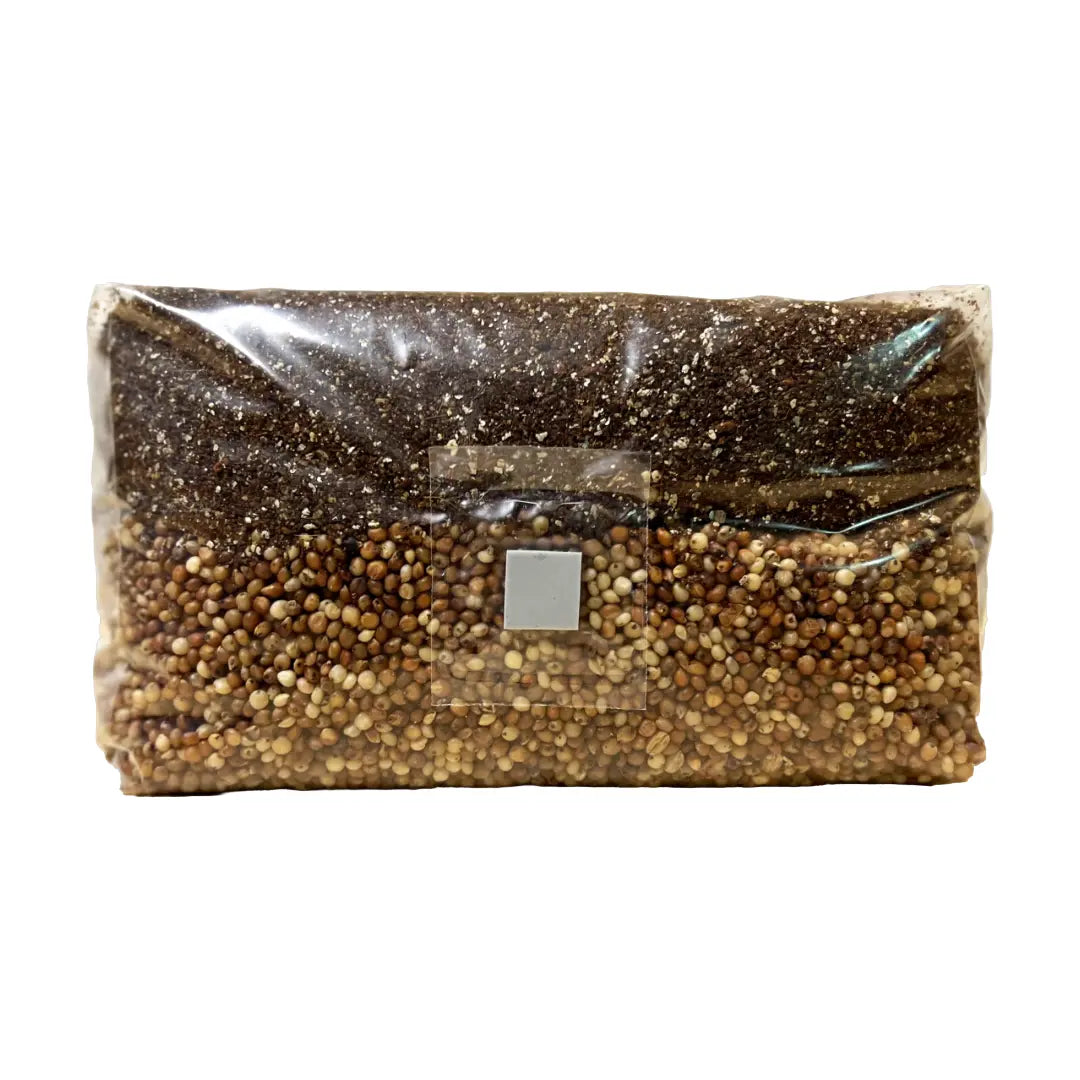
Grain spawn is the foundation of many mushroom grow cycles—it’s where healthy mycelium establishes before moving into bulk substrates. While it might seem technical, you can make effective, sterile grain spawn at home using simple tools. If you want to cut that prep time and avoid early-stage failures, our mushroom grain spawn bags offer a clean, ready-to-use option. In this guide, you’ll learn how to select and prepare grain, sterilize correctly, inoculate safely, and troubleshoot common pitfalls so your own grain spawn becomes a reliable part of your mushroom cultivation process.

Step 1: How to Choose & Soak Grain for Spawn
The kind of grain you pick for mushroom grain spawn really affects how fast it colonizes and how well it works overall. Organic rye berries are usually seen as the best because they hold water just right. But there are other options too, such as
- Wheat berries – They're a bit smaller than rye but work just as well.
- Millet – This is good if you want colonization to happen quicker because the grains are smaller, which lets the mycelium spread fast.
- Brown rice – It can be used, but it's not as good as rye or millet.
- Oats or corn – Sometimes people use these, but there's a greater chance of contamination.
Hydration Process
Getting the hydration right makes sure the grains have enough water for the mycelium to grow well. Here's what to do
- Put the dry grain into a big bucket or bowl.
- Add enough water so the grain can get bigger but the water doesn't overflow.
- Let it soak for 12 to 24 hours. Don't leave it longer than 24 hours, because it might start to sprout, and that's not good.
- After soaking, the grains should be about three times bigger.
A simple tip: If you start with one cup of dry rye berries, you'll get about three cups of grain that's hydrated. If you're making ten quart jars, start with around three jars of dry grain.

Step 2: Getting Jars and Lids Ready
For growing mushrooms in jars, you need to change the lids a bit so it's easy to put the mycelium in and also keep out any bad stuff.
How to Ready the Lids
- Make two holes in each lid, whether it's metal or plastic
-
- Drill a 1/4-inch hole in the middle so air can get in and out through a filter.
- Drill a 1/8-inch hole near the side to inject the mycelium.
-
Make a port that seals itself after injection
- Put high-heat silicone sealant (like RTV silicone) over the smaller hole.
- This way, when you stick the syringe in, the hole closes up afterwards, so nothing bad can get in.
-
Put in a filter
- Use polypill or synthetic filter disks over the bigger hole. This lets the mycelium get air but stops germs from getting in.
With these special lids, you don't need a pricey air filter hood. The self-sealing port and air filter help keep mold and bacteria out of the jar.

Step 3: Cooking, Draining, and Drying the Grain
After soaking, the grains need to take in a bit more water by being simmered. This makes sure they have just the right amount of water for the mycelium to grow well.
Steps for Cooking and Draining the Grain
- Move the soaked grains to a pot of water and bring it to a gentle boil for 10 to 15 minutes.
- Watch them carefully. If you cook them too much, they can get too soft and mushy, which makes it hard for the mycelium to colonize.
- Drain the grains right away using a strainer or mesh screen.
- Spread the grains out on a clean towel or rack to dry in the air for 1 to 2 hours. The outside should feel dry so there's not too much water in the jars.
Once they are dry enough, fill each jar about two-thirds full, leaving some space to shake the grains later so they colonize evenly.

Step 4: Making the Grain Sterile
Sterilizing gets rid of bacteria, mold spores, and other bad things that could fight with the mycelium and stop it from growing.
Why You Need a Pressure Cooker
- Just boiling water (at 100°C) isn't hot enough to kill everything. Some bacteria spores can still live.
- Using high pressure at 15 PSI (about 121°C) for 90 minutes really makes the grain spawn sterile.
- A good, cheaper option is the Presto Pressure Canner (it can hold up to ten jars).
How to Sterilize
- Put aluminum foil over each jar lid so water doesn't get into the grain.
- Put the jars in the pressure cooker, making sure they aren't touching the sides.
- Set it to 15 PSI for 90 minutes. Start timing when it reaches full pressure.
- Turn off the heat and leave the jars to cool down all night before you touch them.
Not sterilizing properly is one of the main reasons why mushroom growing gets contaminated.

Step 5: Adding Mycelium with Liquid Culture
After the jars are cool, it's time to put the mycelium into the grain using a syringe with liquid culture.
How to Add Mycelium
-
Sanitize lid area with 70% isopropyl alcohol.
-
Use a liquid culture syringe, injecting 1-2 mL of culture per jar via a self-healing port. Over-inoculation can invite moisture issues.
-
Flame sterilize the needle between jars to avoid cross-contamination.

Step 6: Keeping Warm and Growing Mycelium
Once you've added the mycelium, keep the jars in good conditions to help the mycelium grow and colonize well.
Best Conditions for Colonization
- Temperature: For most kinds of mushrooms, keep it at 70–75°F (21–24°C).
- Light: Not much light, or light that's not direct. It doesn't have to be totally dark, but darkness can make colonization slower.
- Humidity: The jars already have enough moisture inside, so you don't need to add more humidity.
Checking on Growth
- When colonization is healthy, it looks bright white and like a web.
- Signs that something is contaminated
- When about 30% of the jar is colonized, shake it up to spread the mycelium around so it grows faster.
For most types of mushrooms, it takes 2 to 3 weeks for a jar to fully colonize if the conditions are right.
FAQ
-
Is grain spawn hard to make at home?
Not really—with proper prep, correct moisture, sterilization, and clean tools, you can make quality grain spawn at home without needing a lab setup. -
What makes pre-made grain spawn bags helpful?
They reduce prep effort, lower contamination risk, and provide a clean, ready-to-use base for bulk substrate or fruiting projects. -
How much liquid culture should I use per spawn jar?
Usually 1-2 mL per quart jar is optimal. Too much can oversaturate the grain and introduce risk; too little slows colonization. -
How long does full colonization take?
Under proper temperature (70-75°F) and clean conditions, many jars will be fully colonized in about 2 to 3 weeks. -
What common mistakes cause failed spawn colonization?
Overcooked or under-drained grain, improper sterilization, using too much moisture, skipping sterile technique during inoculation, or storing jars in temperatures that are too low or drafty.

Usual Mistakes and How Not to Make Them
- Cooking the grain too much → It gets mushy and you can't use it. ⟶ Just simmer for 10–15 minutes.
- Not sterilizing → Big chance of contamination. ⟶ Always pressure sterilize at 15 PSI.
- Using too much liquid culture → Too much water can bring bacteria. ⟶ Don't put in more than 2 CC per jar.
- Conditions not good for colonization → Growth is slow or doesn't happen. ⟶ Keep it at 70–75°F and make sure there's some air flow.

What to Do After? Growing More and Using Your Grain Spawn
Once the jars are fully colonized, you can use them to grow mushrooms in different ways
- Putting spawn into bulk substrates – Mix the spawn with coco coir, sawdust, or straw to get bigger harvests.
- Monotubs and fruiting chambers – These are great for mushrooms like oyster and psilocybe.
- Grain-to-Grain Transfers (G2G) – You can use one jar that's colonized to start ten more. This way, you can make a lot more spawn.
Making mushroom grain spawn is a simple but effective way for people at home to grow mushrooms. With basic tools and good sterilization, anyone can successfully grow mushrooms at home—you don't need a fancy lab!
For cheap sterilized stuff and liquid cultures, take a look at Zombie Mushrooms. Happy growing!
References
- Stamets, P. (2000). Growing yummy and healing mushrooms. Ten Speed Press.
- Moore, D., Robson, G. D., & Trinci, A. P. J. (2011). 21st Century Guidebook about Fungi. Cambridge University Press.
- Smith, J. E., & Sullivan, R. (2017). "Sterilization Ways for Mycology: A Review." Microbiology Research Journal, 25(3), 150-165.


