Last Updated: April 26, 2025
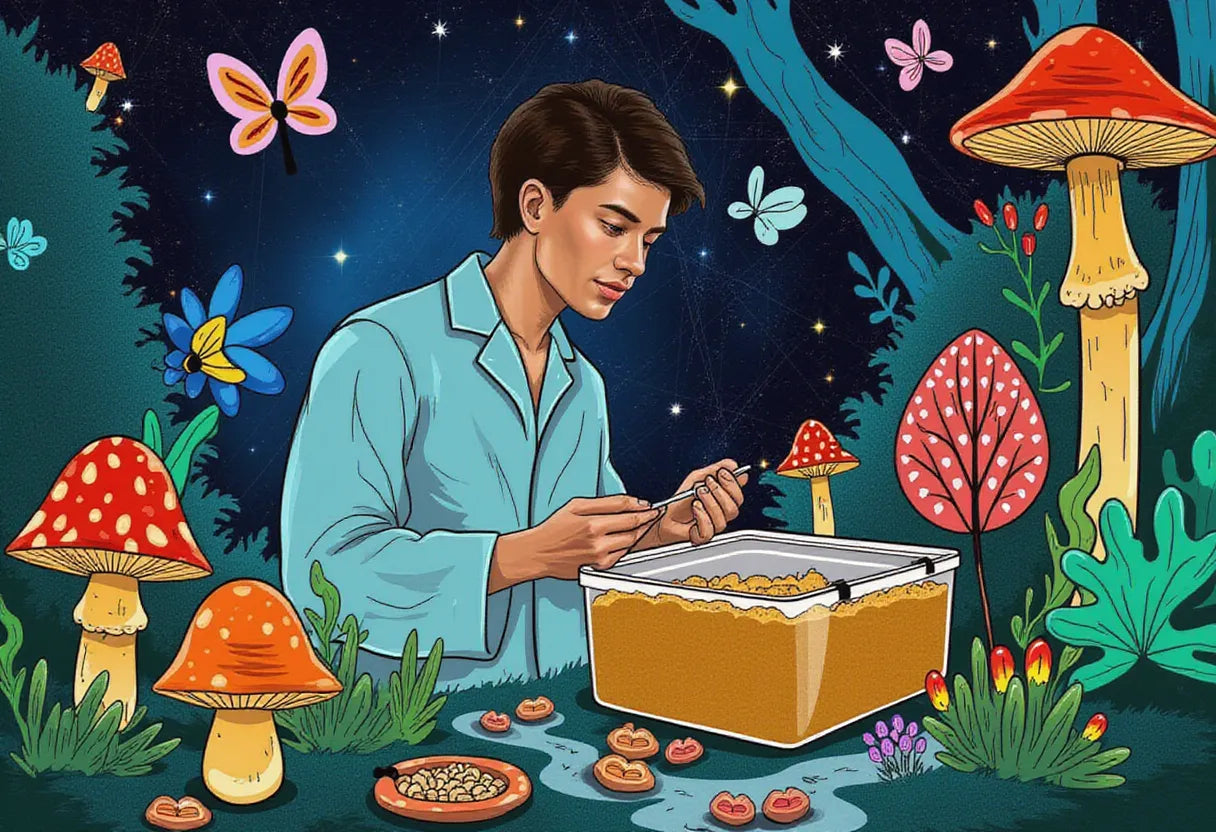
The monotub tek has become a really popular way to grow mushrooms at home. It's simple, works well, and gives you a lot of mushrooms. This complete monotub guide will take you through every step – from setting things up to picking your mushrooms. Whether you're new to growing mushrooms or want to get better at it, this monotub grow guide has all the info you need for a good harvest.
What Makes the Monotub Tek So Popular?
The monotub tek uses a plastic storage container that's been changed to make the perfect place for mushrooms to grow. This method is popular with hobbyists and more experienced growers for some good reasons:
-
It doesn't cost much: You don't need to spend a lot on materials, and they're easy to find.
-
It's easy to care for: Once it's set up, it doesn't need as much attention as other methods.
-
You can grow more: It's easy to make more monotubs if you want to grow more mushrooms.
-
You can change it: You can adjust it for different kinds of mushrooms.
-
You get a lot of mushrooms: For the space and effort, you get a good amount of harvest.
Essential Supplies for Your Monotub Tek
Before you start growing mushrooms with the monotub tek, get these important supplies:
Basic Materials:
-
Clear plastic storage bin (around 50-60 quarts)
-
Drill with a 1.5-2" hole saw attachment
-
Polyfill, micropore tape, or filter patches
-
Black plastic liner (to stop mushrooms from growing on the sides)
-
Grain spawn (already grown or you make your own)
-
Bulk substrate materials (coco coir, vermiculite, maybe gypsum)
-
Spray bottle for misting water
-
Gloves, face mask, and isopropyl alcohol (70% or more) for cleaning
Optional But Helpful:
-
Hygrometer to check humidity
-
Thermometer to check temperature
-
Still air box to work in a clean environment
-
Pressure cooker (if you're making your own grain spawn)
-
Small fan for air movement
Building Your Monotub: Step-by-Step Instructions
Making a good monotub is easy if you follow these steps carefully:
Drill Air Exchange Holes:
-
Drill 2-4 holes on each of the long sides of the tub, about 2-3 inches above where the substrate will sit.
-
Add 2 holes near the top on the shorter sides so air can move upwards.
-
Sand down any rough edges so your polyfill or filters don't tear.
Add Filtration:
-
Stuff polyfill into each hole (use less if you want more air, more if you want higher humidity).
-
Or, cover the holes with micropore tape or sticky filter patches for more even airflow.
Install the Liner:
-
Cut a black trash bag to fit inside the bottom of the monotub.
-
The liner helps stop mushrooms from growing between the substrate and the tub walls.
-
The liner should move down with the substrate as it shrinks, staying in close contact.
Sanitize Thoroughly:
-
Clean the whole monotub with isopropyl alcohol or a weak bleach solution.
-
Pay extra attention to corners and holes where bad stuff can hide.
-
Let it dry completely in a clean place.
Substrate Preparation for the Monotub Tek
The substrate gives the mushrooms food and water to grow. For most kinds grown with the monotub tek, a mix of coco coir and vermiculite (usually called CVG substrate) works great:
Basic CVG Recipe:
-
650g (1 brick) of coco coir
-
2 quarts of vermiculite
-
1 cup of gypsum (optional, but good)
-
4-5 quarts of boiling water
Pasteurization Process:
-
Put the coir in a big container or cooler.
-
Add the boiling water and mix it well.
-
Cover it and let it sit for 6-8 hours until it's cool to the touch.
-
Mix in the vermiculite and gypsum when it's cooled down.
Field Capacity Test:
-
Squeeze a handful of the substrate – it should release just a few drops of water.
-
If it's too dry, add more water; if it's too wet, add more dry stuff.
-
Getting the moisture right is really important for good mushroom growth.
Inoculation: The Critical Step in Your Monotub Guide
Putting your colonized grain spawn into the substrate is where the magic starts. This step needs to be super clean:
Preparation:
-
Clean your work area really well.
-
Wear clean gloves and a face mask.
-
Have everything ready before you open any spawn containers.
Spawning Process:
-
Put about 3-4 inches of the prepared substrate in the bottom of your monotub.
-
Break up your colonized grain spawn into individual grains.
-
Sprinkle the spawn evenly over the substrate (try for a 1:2 or 1:3 ratio of spawn to substrate).
-
Mix it in gently but thoroughly so the spawn is spread throughout the substrate.
-
Flatten the surface so it colonizes evenly.
Colonization Setup:
-
Put the lid on your monotub.
-
Keep it in a warm place (70-75°F/21-24°C) away from direct sunlight.
-
Reduce airflow during this time by covering the holes completely or using more polyfill.
The Monotub Timeline: What to Expect
Knowing the typical monotub timeline helps you know what to expect and how to care for your growing mushrooms:
Week 1-2: Colonization Phase
-
Days 1-3: Not much visible change as the mycelium starts to spread.
-
Days 4-7: White patches of mycelium appear and get bigger.
-
Days 8-14: The substrate gets more and more covered in white mycelium.
Week 3-4: Pinning Phase
-
Days 15-21: Once it's fully colonized, start the fruiting conditions (more fresh air, indirect light).
-
Days 18-25: Small white dots (hyphal knots) appear, which will turn into pins.
-
Days 21-28: The pins get longer, and caps start to form.
Week 4-5: Fruiting Phase
-
Days 25-30: Mushrooms grow quickly, sometimes doubling in size each day.
-
Days 28-35: Harvest when the veil under the cap starts to tear but before it drops spores.
-
Days 35+: You can get more harvests (flushes) after letting it rest for 5-10 days.
Note: This monotub timeline can change depending on the type of mushroom, temperature, and other conditions.
Creating Perfect Fruiting Conditions
Once your substrate is fully covered in white (colonized), it's time to make it fruit:
Increase Fresh Air Exchange (FAE):
-
Loosen the polyfill or use less of it.
-
Fresh air tells the mushrooms to start pinning and grow properly.
-
Not enough fresh air can lead to thin stems and fuzzy growth.
Light Requirements:
-
Give it indirect light (about 12 hours on, 12 hours off).
-
Natural light or a soft LED light works well.
-
Mushrooms don't photosynthesize, but light helps them know which way to grow.
Humidity Management:
-
Keep the humidity inside the monotub around 90-95%.
-
You should see small water droplets on the inside walls.
-
Mist the walls (not directly on the substrate) if it looks dry.
Harvesting Your Monotub Tek Mushrooms
Harvesting the right way helps you get the most mushrooms and prevents contamination:
Optimal Harvest Time:
-
Pick the mushrooms when the veil under the cap starts to stretch or tear.
-
Don't wait for the spores to drop, because that can reduce future harvests.
-
Different kinds of mushrooms have different signs of when they're ready.
Harvesting Technique:
-
Gently twist and pull from the base.
-
If there are a lot growing together, cut them at the substrate level with clean scissors.
-
Try not to damage the mycelium so you can get more harvests.
Between Flushes:
-
After harvesting, remove any small, undeveloped mushrooms or leftover stems.
-
Mist the substrate lightly if it looks dry.
-
Put it back into fruiting conditions for more harvests (usually you can get 2-4).
Troubleshooting Common Monotub Tek Problems
Even the best growers have problems sometimes. Here’s how to deal with common issues with the monotub tek:
Contamination Issues
-
Green/Blue Mold: This is usually Trichoderma contamination; take the monotub away from other grows right away.
-
Black Spots: Could be mold or spores; watch if it spreads and isolate it if it does.
-
Yellow Liquid: This is likely metabolites ("mycelium pee"); a little is normal, but too much means the mycelium is stressed.
-
Prevention: Keep things clean, pasteurize properly, and have healthy mycelium.
Growth Problems
-
Stalled Colonization: Check the temperature (too cold slows growth) and airflow.
-
No Pinning: Make sure you have enough fresh air, humidity, and light.
-
Thin, Stringy Mushrooms: Give it more fresh air; too much CO₂ can cause this.
-
Side/Bottom Pinning: Use a good liner that moves with the substrate as it shrinks.
Advanced Monotub Grow Guide Tips
Once you know the basics of the monotub tek, you can try these more advanced things:
Dialing In FAE:
-
Try different amounts of polyfill or different types of filters.
-
Make adjustable holes that you can open or close as needed.
-
Use a small USB fan on a timer to automate the airflow.
Substrate Amendments:
-
Add pasteurized coffee grounds (about 5-10%) for more nutrients.
-
Try worm castings or well-composted manure for certain types of mushrooms.
-
Test adjusting the pH with gypsum or lime if certain species like it.
Multiple Flushes Optimization:
-
Dunk technique: Soak the substrate in cold water for 12-24 hours between harvests.
-
Bottom watering: Add water to the bottom of the tub without getting the surface wet.
-
Casing layer: Add a thin layer of pasteurized casing material after the first harvest.
Environmental Benefits of the Monotub Tek
The monotub tek is also pretty good for the environment compared to other growing methods:
-
Reusability: You can use the same monotub for many grows, which means less plastic waste.
-
Efficiency: It produces a lot of mushrooms with not many resources.
-
Reduced Plastic: Less waste compared to single-use grow bags.
-
Water Conservation: It's a closed system, so it doesn't need as much water as other methods.
-
Cost-Effective: Once you buy the stuff, you can grow for years.
Conclusion: Why the Monotub Tek Remains Popular
The monotub tek is still a favorite for people growing mushrooms because it's a good mix of being simple, effective, and scalable. This monotub grow guide has covered the important techniques, but remember that growing is both science and art – each time you grow, you learn more and can get better.
By following this complete monotub guide and paying attention to cleanliness, the environment, and the monotub timeline, you'll be well on your way to growing mushrooms successfully. The monotub tek might seem complicated at first, but once you get the hang of it, it's a reliable and rewarding way to grow mushrooms at home with not much work and great results.
Whether you’re growing gourmet mushrooms for cooking or medicinal ones for health, the monotub tek is a good way to get into the fascinating world of mycology, and it’s a skill that gives you lots of chances to learn and experiment.


