⬇️ Prefer to listen instead? ⬇️

- Poplar mushrooms can get up to 194% biological efficiency (BE) when grown on optimized non-woody materials.
- Fruiting needs cooler temperatures (59 to 68°F) and high moisture (80 to 90%) for the best yield.
- What you grow them on makes a big difference in how much you get; wheat straw and bran mixes work better than others.
- Growing them at home gives you food and a hands-on way to learn about mushroom biology.
- Poplar mushroom beds outside can keep producing every year for up to 5 years if you take care of them.
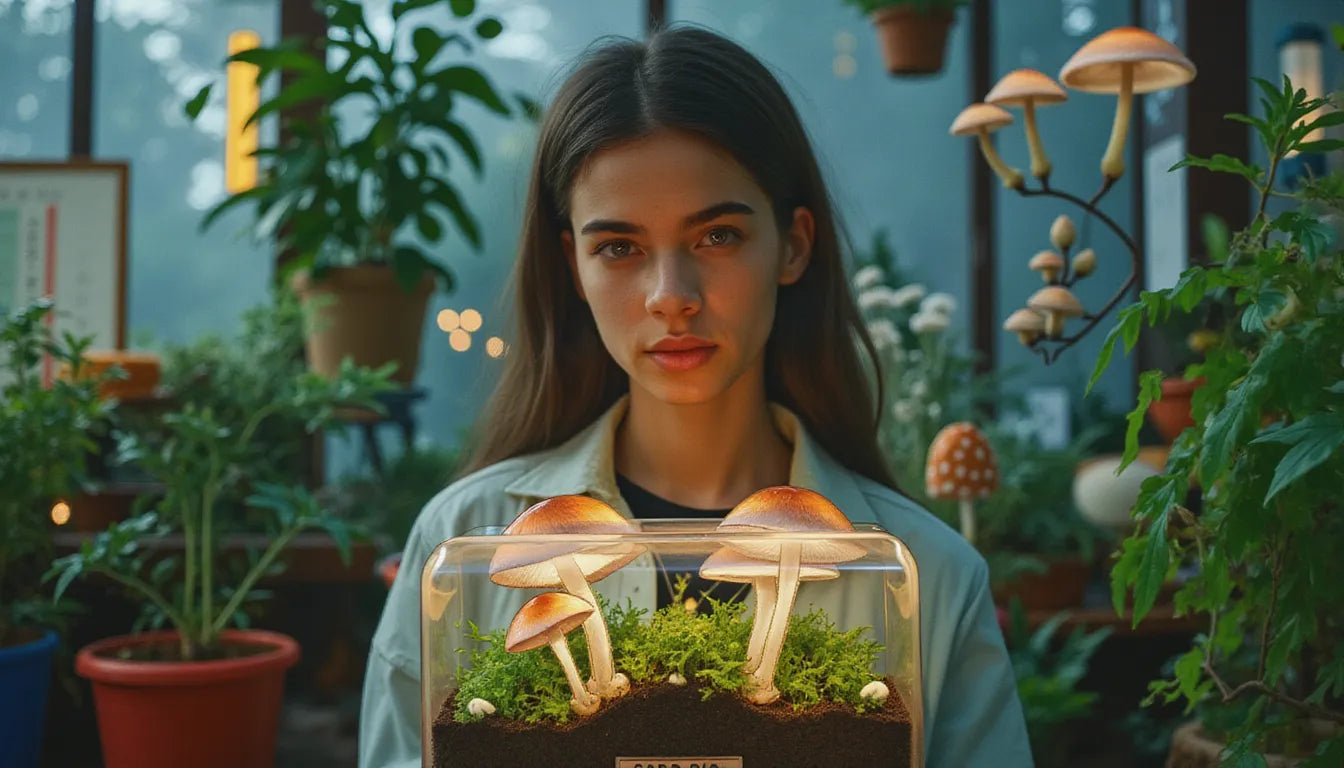
Poplar mushrooms (Agrocybe aegerita) are delicious, firm, and packed with nutrients—making them a favorite among growers and home cooks alike. Known for their nutty flavor and ease of cultivation, they’re an excellent choice when growing poplar mushrooms at home. With the right substrate for poplar mushrooms and well-managed fruiting conditions, you can achieve high yields both indoors and outdoors. For beginners, using Mushroom Grow Bags is a great way to simplify setup and get started with fresh harvests quickly.
If you want to cut down your grocery bill, grow food in a sustainable way, or turn a hobby into a small business, this guide has the information you need to start growing poplar mushrooms, with grain spawn bags being one of the easiest tools for beginners to kickstart their cultivation process.
What Are Poplar Mushrooms?
Poplar mushrooms, known by the scientific name Agrocybe aegerita and often called Pioppino or Black Poplar mushrooms, are edible fungi that grow on wood. In nature, they grow on dead hardwood trees, especially poplar trees, which is why they have that name. These mushrooms originally came from Southern Europe and parts of Asia. Now, people grow them all over the world, in large farms and at home.
People know poplar mushrooms by their dark brown, bell-shaped tops, white gills, and long, thin stems. They have a meaty feel and an earthy, nutty taste. This makes them popular in fancy kitchens. They are great in pasta, risotto, stir-fries, and soups.
For your health, they have a lot of fiber, B-vitamins, and antioxidants. They might also have health benefits, like helping with swelling and supporting your immune system. This makes them good to add to your food.
Growing them lets you enjoy these benefits. It also lets you be part of a sustainable food-growing process that feels good to do.

Why Grow Poplar Mushrooms at Home?
Growing poplar mushrooms offers more than just good taste. Here’s why more people who grow things at home are choosing to grow mushrooms, especially this kind:
- Good for Beginners, Gardeners, and City Folks: Poplar mushrooms are some of the easiest mushrooms to grow at home. They can grow on many different things and don't need as much technical work as other fancy kinds like shiitake or morels.
- Cheap Food Source: One grow kit or a small amount of prepared material can give you several harvests. This saves you a lot of money compared to buying fancy mushrooms at the store or market.
- Good for the Earth: Mushrooms grown at home mean less travel for food. They don't need plastic packaging. And they help recycle by turning things like straw or wood scraps into food.
- Hands-On Learning: The growing process teaches you important ideas about biology, tiny living things, and growing food in a sustainable way. You can learn all this from your kitchen or backyard.
If you like doing things yourself, cooking, or want a sustainable food project, growing poplar mushrooms at home is simple, rewarding, and makes a difference.

Essential Equipment & Supplies
To start growing poplar mushrooms, get these tools and things ready:
Basic Equipment
- Misting Bottle: Used to keep the air moist where your mushrooms are growing.
- Thermometer and Hygrometer: Tools to check and keep the temperature and moisture at the right levels.
- Clean Gloves and Disinfectant (like rubbing alcohol): Helps stop bad things like mold and bacteria when you set things up and add the mushroom spawn.
- Growing Box or Tent: Important for making a controlled space, especially if you grow inside.
- Container for Growing Material: If you mix your own growing material, pick containers that let air through, like plastic tubs with small holes or grow bags that can handle heat.
Growing Medium
You can pick one of two ways:
- Ready-to-Fruit Grow Kits: These are blocks already filled with mushroom growth. You just need to mist them and give them some indirect light.
- Mix Your Own Growing Material: This lets you pick everything that goes into it. It's good if you want to grow a lot or try different things.
Mushroom Spawn
This is like the "seed" for the mushrooms. It's live mushroom growth that you add to the growing material:
- Grain Spawn: Works well for fast growth and moving lots of food to the mushrooms.
- Liquid Culture: Best for adding to growing material that has been cleaned or for making grain spawn.
- Agar Cultures: Used in lab-like growing if you start from spores or want to improve strains.
💡 Tip: Places like Zombie Mushrooms sell clean blocks of growing material, grain spawn, and liquid cultures. These make growing at home easier.

Selecting Optimal Substrate Mix for Poplar Mushrooms
What you grow mushrooms on directly affects how much you get, how fast they grow, how quickly the mushroom growth spreads, and how good the mushrooms are. It gives the mushroom growth a place to grow and the food it needs to make mushrooms.
-
High-Yield Non-Woody Mix: Use about 78% wheat straw with 20% wheat bran. It offers around 194% biological efficiency (BE) under good conditions, making it ideal for fast fruiting.
-
Woody Substrate Blend: A mix including hardwood chips, cottonseed meal, or sawdust offers better longevity and lower contamination risk—trade-off is slower initial colonization.
-
Simple Beginner Option: Paddy straw with a small percentage of bran gives moderate yield and requires less stringent sterilization.
-
Cleaning & Moisture Tips: Sterilize or pasteurize non-woody mixes well; ensure moisture is correct—damp but not waterlogged—to avoid mold while maximizing substrate for poplar mushrooms.
Poplar Mushroom Fruiting Conditions & Growth Environment
-
Mycelial Stage: Maintain 24-28°C (75-82°F) with humidity around 60-65%. High CO₂ levels are okay; light is minimal or absent to support clean mycelial expansion.
-
Fruiting Stage: Lower temperatures to 15-20°C (59-68°F); humidity needs to increase to ~80-90%. Provide 8-12 hours of indirect light per day and ensure strong fresh air exchange (FAE) to avoid CO₂ buildup.
-
Light & Airflow: Indirect natural or soft LED lighting reduces stress; ventilation or fan use keeps air quality high during fruiting.
-
Moisture & Consistency: Keep substrate moist but not soggy; misting and relative humidity control are key for healthy “pins” and mature mushrooms.

Growth Timeline: From Starting to Harvest
If you manage the conditions well, you can go from adding the mushroom growth to harvesting in about 4 to 6 weeks.
How Long It Takes
| Stage | Week | What Happens | Notes |
|---|---|---|---|
| Starting | 1 | Mix spawn into growing material; keep clean | |
| Growth Spreads | 2–4 | Mushroom growth spreads; looks white/fuzzy | Needs little to no air flow. |
| Mushrooms Start to Form | Week 5 | Make temps cooler, add moisture/light | First tiny mushrooms ("pins") show up. |
| Fruiting | Week 6 | Mushrooms grow for 7–10 days | Mist and let air in every day. |
| Harvest | Week 6+ | Cut when tops are mostly flat | Don't cut too late—spores can drop fast. |
You can get more harvests (2 to 4) from the same block. This often happens every 10 to 14 days, depending on the food left in the growing material.

Growing Poplar Mushrooms Indoors
Growing inside lets you control things, is easy, and you can grow all year. You can pick what's easier (kits) or what gives you more options (DIY systems).
Option A: Grow Kits
Blocks that already have mushroom growth are a good way to start.
Steps:
- Take the block out of its box and put it in a growing box or a shaded spot (~59–65°F).
- Open or cut the bag so the pins can grow.
- Mist at least two times a day to keep the top wet.
- Pick the mushrooms when their tops get flat.
Yield: 200 to 450g per harvest, up to 3 harvests.
Option B: DIY Substrate in Grow Bags or Tubs
If you want more control and to grow more:
Steps:
- Get Wet: Soak straw or wood chips all night.
- Clean with Heat: Heat to about 160°F for 90 minutes.
- Cool Down: Let the material cool in a clean area.
- Add Spawn: Mix in grain spawn well (use about 10% spawn).
- Let Grow: Keep in a dark room, 75 to 80°F, with not much air flow.
- Make Mushrooms: Move the bags with growth to conditions for fruiting—light, air flow, high moisture.
You could get much more this way, maybe even kilos per batch, if you set up the temperature and moisture controls correctly.

Growing Poplar Mushrooms Outdoors
Growing outside is more relaxed and natural.
What You’ll Need:
- Hardwood logs (4 to 6" across)
- Tools to add spawn (drill, plug spawn or sawdust spawn, wax you can eat)
- Shade and watering often
Steps:
- Cut hardwood logs in the winter; let them sit for about 2 weeks.
- Drill holes 1" deep every 4 to 6 inches.
- Fill the holes with spawn and close them with melted wax.
- Put the logs in a shady place that stays wet.
- Water the logs weekly or when it's dry.
🪵 If you prepare them well, logs can produce mushrooms for many years. They usually fruit in the spring and fall after the mushroom growth has spread for 12 to 18 months.

Harvesting Techniques
Picking at the right time means you get the best taste and nutrients.
- Ripe Top: When the top opens but before it becomes completely flat.
- How to Pick: Gently twist or use scissors to cut the mushrooms at the bottom.
- Don't: Leave mushrooms too long. Spores might make them change color and taste not as good.
After you pick a batch, let the block rest for 7 to 14 days. Then start misting daily again to get more batches.

How to Store Poplar Mushrooms
Keeping mushrooms after picking lets you use them all year.
For a Short Time:
- Put in the fridge in paper bags that let air through.
- Lasts up to 7 to 14 days.
For a Long Time:
- Drying: A food dryer works best. Keep in jars with tight lids away from light.
- Freezing: Cook them briefly before freezing so they don't get a strange texture.
Storing them correctly keeps their flavor good and lets you use them in cooking any time of year.
FAQ
-
What is the best substrate for poplar mushrooms?
Non-woody mixes like straw + bran yield quickly; woody substrates last longer but grow more slowly. -
How long does it take from spawn to harvest for poplar mushrooms at home?
Under good conditions, 4-6 weeks from inoculation to first harvest is achievable. -
Do poplar mushrooms require different conditions indoors vs outdoors?
Yes. Indoors, you’ll need tighter control of temperature, humidity, and air exchange; outdoors, natural shade and seasonal conditions help. -
How do I pick poplar mushrooms at the right time?
Harvest when caps are mostly flat but before they fully flatten or spores drop, to get the best flavor and texture. -
Can I use grow bags for poplar mushrooms for indoor production?
Absolutely—Mushroom Grow Bags provide controlled environments making spawn application, moisture, and hygiene more reliable.

Mistakes Beginners Should Avoid
- Too Much Water: Causes spots on the mushrooms and areas in the material with no air.
- Wrong Mix Amounts: Messes up the food balance and how the growth spreads.
- Not Cleaning with Heat: Lets bad things grow out of control.
- Poor Air Flow: CO2 builds up and stops mushrooms from growing well.
- Not Checking Regularly: Checking moisture and temperature every day is very important.
Knowing these mistakes and not making them will greatly increase your chance of success.

Growing More for a Small Farm
Want to go from a hobby to a small mushroom farm? Focus on these main things:
- Being Efficient: Use bigger grow bags, mixers for the growing material, and grow racks.
- Using Machines: Get humidifiers, fans to move air out, and timers for LED lights.
- Learning More: Take courses or get training in growing mushrooms.
- Finding Buyers: Look for local restaurants and farmers markets to sell to.
Mushroom farms run from home can make good money with not much money needed to start. This is especially true when you use efficient types like Agrocybe aegerita.
Why Poplar Mushrooms Are Worth Growing
Poplar mushrooms are simple to grow, grow fast, taste great, and teach you things. They can grow inside or outside, give you a lot, and are sustainable. This makes them a top pick for people who enjoy growing mushrooms. With tools, kits, and help online easier to find than ever, now is a great time to get into growing poplar mushrooms.
Start today with a trusted grow kit from Zombie Mushrooms. You can bring the taste of fancy mushrooms right to your home.

