⬇️ Prefer to listen instead? ⬇️

- 🍄 Oyster mushrooms reach prime harvesting stage just 5–10 days after pinning.
- ⚠️ Overripe oyster mushrooms release spores that reduce shelf life and flavor.
- 🧪 Ideal harvesting timing preserves texture, nutrients, and culinary appeal.
- 🌡️ Environmental controls like humidity and CO₂ directly impact mushroom growth.
- 🍽️ Proper post-harvest storage extends freshness and boosts nutrient retention.
Oyster mushrooms are one of the most rewarding fungi to grow at home, but timing your harvest makes all the difference in yield, flavor, and texture. Harvesting too early can cut into your potential yield, while waiting too long may leave you with flat, tough caps. This guide explains when to harvest oyster mushrooms at the right stage, how to spot the key signs, and how tools like Mushroom Grow Bags make the process more predictable for consistent results.

Oyster Mushroom Growth Stages at a Glance
Oyster mushrooms (genus Pleurotus) grow in a set way from spore to full size. Knowing each stage is key to picking them at the best time. Their growth cycle has these steps:
1. Mycelial Growth
After you add the spores to a block or natural material like logs, the mycelium starts to grow through the medium. This thread-like network spreads fast, eating nutrients from its surroundings. It can take 2–3 weeks for it to fully grow through, depending on the mushroom type and conditions.
2. Pinning Stage
Pinning happens when changes in the environment (like drops in temperature and CO₂ levels) tell the mycelium to form mushroom bodies. Pins are tiny, 1–2 mm mushroom shapes that look like small knots or bumps. They usually appear in groups.
3. Developing Fruit Bodies
Once pins appear, growth speeds up fast. Over the next few days, the mushroom caps get bigger, and stems get longer. This is usually the fastest part of growth. You may need to check your mushrooms several times a day, especially in controlled spaces.
4. Maturation
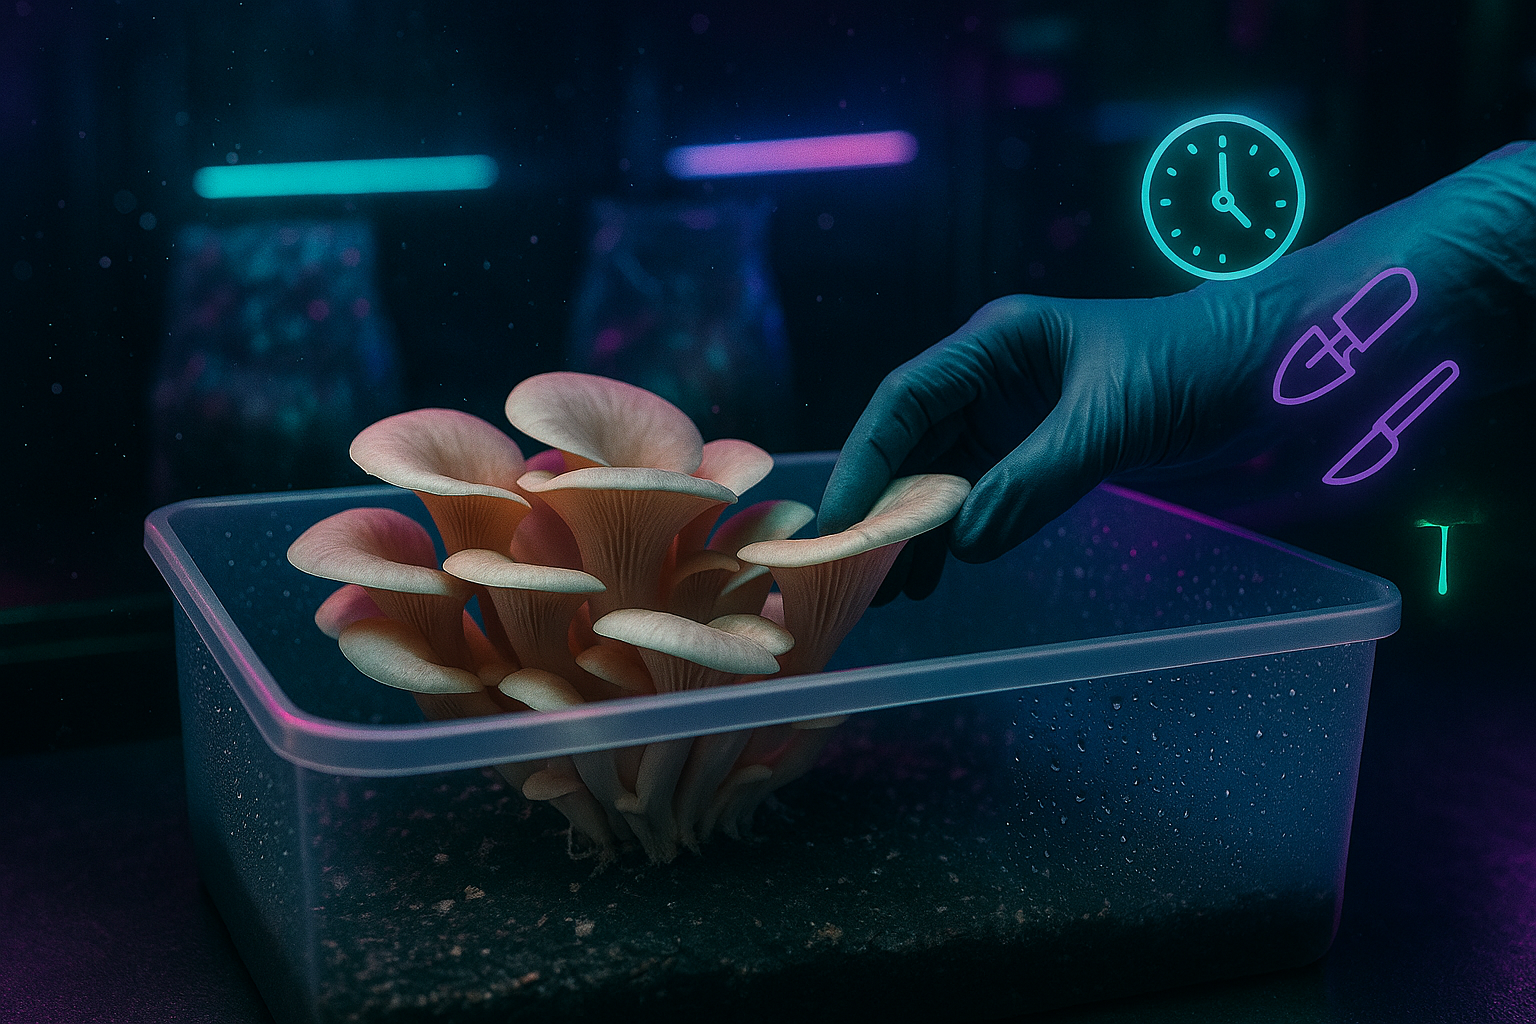
When oyster mushrooms are fully grown, their gills are complete under caps that lie mostly flat or still curve inward a little. This is the best stage for flavor, texture, and nutrients.
5. Getting Too Old (Over-Maturity)
If you do not pick them, oyster caps will start to curl up a lot. Their gills turn darker. Then they release many spores, which can cover nearby surfaces with a white, gray, or purple powder. At this point, the mushroom starts to lose water, flavor, and nutrients.
If you keep temperatures just right (60–75°F) and humidity high (85–95%), most oyster mushrooms will grow to full size within 5 to 10 days after pinning (Stamets, 2005). This short time means you must check them daily to pick them at the right moment.

How to Tell When to Harvest Oyster Mushrooms
To know when to pick mushrooms, you need to watch for physical changes and small signs that they are ready. Here are the main things to look for:
-
Cap shape: Edges should still curve slightly downward. Fully flat or upturned caps mean they’re past their prime.
-
Size: Most oyster varieties are ready when caps reach 2–5 inches across, depending on strain.
-
Color and gills: Vibrant color and tightly spaced gills are indicators of peak freshness. Faded caps or spore dust mean you waited too long.
-
Cluster density: Harvest while clusters are full and firm—before caps begin to overlap heavily or separate.
Professional growers say this timeframe gives you the best taste, tenderness, and nutrients (Chang & Miles, 2004). If you wait too long, the mushrooms will not taste as good, and they will not last as long.
“When in doubt, pick them just before they look fully grown. It is better to have caps that are a bit small than ones that are too big and dusty.”

What Freshness at Its Best Looks and Feels Like
You can tell if oyster mushrooms are ready by how they look and feel. Look for these signs that they are at their best:
✅ Color:
Oyster mushrooms should have bright, wet-looking colors:
- Blue Oyster: Steely blue when young
- Pink Oyster: Rosy and clear with a soft surface
- Pearl/White Oyster: Creamy white with no yellowing or dark spots
✅ Texture:
Mushrooms should feel firm and a little springy when you press them. Signs of being too old include being limp, rubbery, or having visible wrinkles.
✅ Weight and Moisture:
A mushroom with enough water feels heavy. If the mushrooms feel dry or like paper, or if you see water from too much humidity, they are not in the best state.
These signs mean the mushrooms have the most nutrients—like fiber, B vitamins, and protein. They are also best for cooking in many ways.

Risks of Waiting Too Long
If you pick your oyster mushrooms at the wrong time, you can quickly ruin a good batch. Waiting too long causes several problems:
- Bad Shape: Edges of caps curl upward, which means they are getting old and are not as good.
- Spore Release: Fully grown mushrooms release many spores. These can cover surfaces and cause stress to nearby mushrooms.
- Less Flavor and Toughness: Older mushrooms have more chitin. This is a tough part that makes them chewy and harder to digest (Bernaś et al., 2006).
- Shorter Shelf Life: Mushrooms that have grown too much go bad quickly and do not store well. They often turn slimy when stored.
Being quick ensures both better cooking quality and mushrooms that last longer and have more nutrients.

Tools and Tricks for Clean Harvesting
Using the right tools and ways helps you get many flushes and keeps your mycelial network safe.
Harvest Methods:
- Knife or Scissors: Use clean kitchen scissors or a sharp knife to cut cleanly at the base.
- Twist and Pull (carefully): Hold the base gently and twist it in a clockwise direction. Be careful not to tear nearby pins or rip the block.
Hygiene Tips:
- Clean Equipment: Wipe tools with rubbing alcohol before and after you use them. This helps stop bacteria and mold.
- Leave the Base: Do not bother untouched groups or small pins. These can grow into more mushrooms later.
Keeping your setup clean means a clean space and healthier mushrooms in the future.

Environmental Factors That Influence Timing
How you grow your oyster mushrooms can decide if you pick them at the right time. Things like temperature, humidity, and how much air moves around affect how fast mushrooms grow.
Key Environmental Variables:
-
Humidity: Consistent humidity (85–95%) prevents premature drying and cracking, keeping caps tender.
-
Fresh Air Exchange (FAE): Limited airflow can cause long stems and small caps, signaling the need for adjustments before harvesting.
-
Temperature: Most strains thrive at 60–75°F, but pink oysters fruit faster in warmer temps, while blue oysters prefer cooler ranges.
-
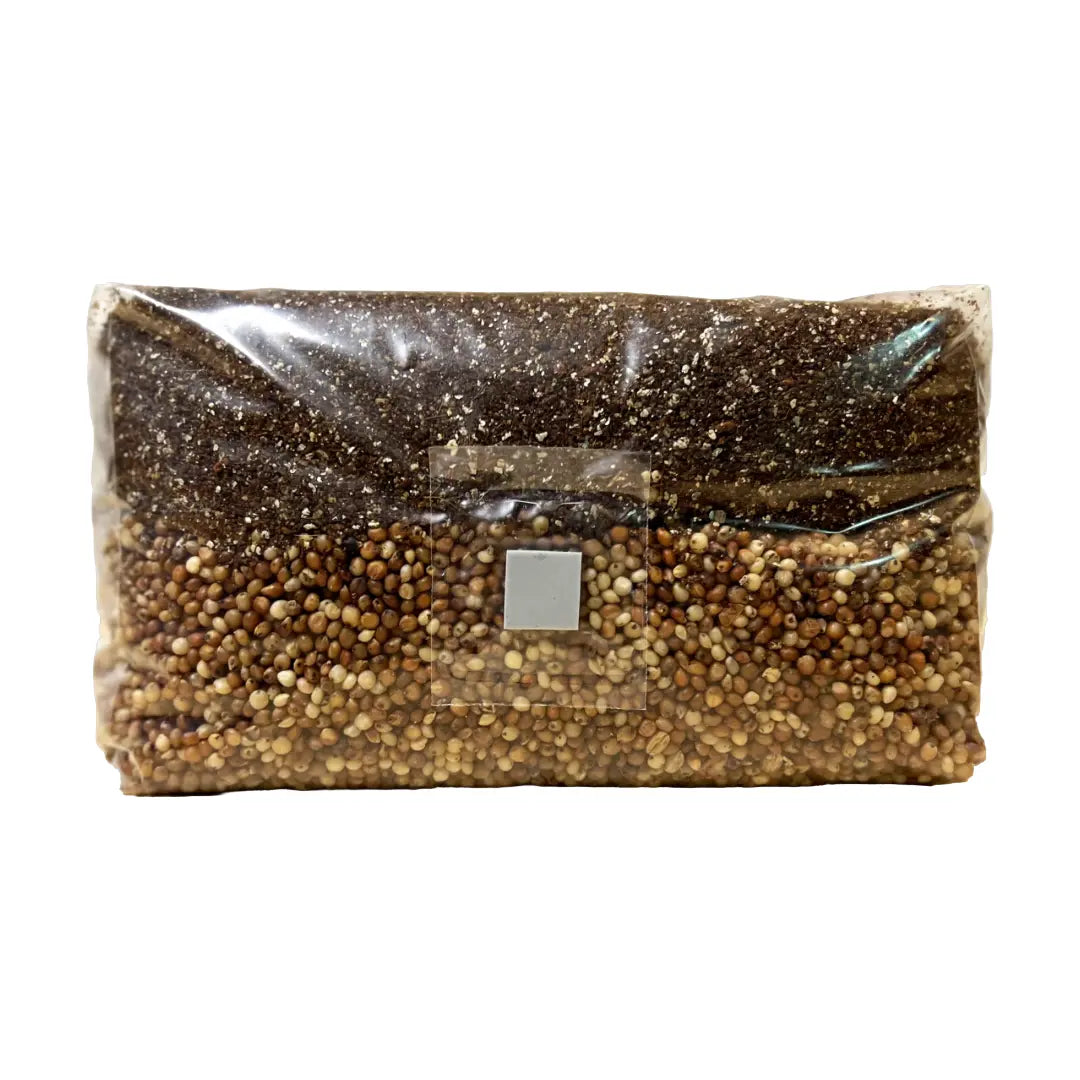
Grow Method: Using Mushroom Grow Bags or Monotubs creates stable conditions that make it easier to predict when mushrooms are ready to pick.
Zombie Mushrooms grow kits make these needs simpler. They help create a small area with the right conditions so oyster mushrooms grow well on their own.

Know Your Strain: Pearl, Blue, and Pink Oyster Varieties
Different types of oyster mushrooms grow at slightly different speeds and have different signs when they are ready.
It helps to track each type of mushroom in a simple harvest journal. Write down pinning dates, how they look, and changes in the growing conditions each day. This will help you improve your process over time.
Getting the Most from Zombie Mushrooms Grow Kits
Zombie Mushrooms kits are made for easy use and good harvests. They give several flushes if you care for them well. Here is how to get the most from your kit:
🔄 First Flush
Your first flush should appear within 10–14 days after you start the kit (by cutting the bag and misting often). Keep humidity high and place it in indirect light.
💧 Rehydrating Substrate
After your first harvest:
- Take off any mushroom pieces.
- Put the whole substrate block in cold water for 12–24 hours.
- Drain it well and start misting again.
🔁 Second and Third Flushes
With enough rest and water, you can expect 2–3 total flushes. Some experienced growers say they get up to 4 or more if they use bigger kits and ideal conditions.
Adjust light, temperature, and humidity slightly between flushes. This tells the mycelium to start another round of growth.

Storage and Preservation After Harvest
Oyster mushrooms are delicate and best enjoyed fresh, but proper storage can extend shelf life:
-
Refrigeration: Store in a paper bag in the fridge for 5–7 days. Avoid sealed plastic bags, which trap moisture and speed spoilage.
-
Freezing: Lightly sauté mushrooms before freezing to preserve flavor and texture.
-
Drying: Use a dehydrator or low-temperature oven for long-term storage; rehydrate with warm water before cooking.
-
Grow Cycle Planning: With Mushroom Grow Bags, you can stagger colonization and fruiting to ensure a steady supply instead of having to store large flushes all at once.
Common Harvesting Mistakes to Avoid
Avoid these common mistakes to get healthier mushrooms and more flushes later:
- Too Early: Tiny caps and pale gills mean mushrooms with no taste and small harvests.
- Too Late: Flared caps mean spore dumps, tougher mushrooms, and bitter parts.
- Improper Removal: Tearing or pulling mushrooms harms pins and damages the mycelium.
- Neglecting Conditions: Too much heat or low humidity can stop more flushes from growing.
Check your mushrooms daily. Adjust your setup a little. And your oyster mushroom growing will get better with each round.
Get the Most From a Grow Kit Strategy
Think of growing mushrooms as a fun science project. Here is how to get better with each batch:
- ✅ Keep a Log: Write down pinning dates, growing settings, harvest times, and what you notice.
- ✅ Flush Schedule: Soak the block between flushes. Mist a lot to start new growth.
- ✅ Harvest Planning: Group your cooking or storing methods (drying, cooking) to get the most value after picking.
Tracking things on purpose will lead to more mushrooms, less waste, and make you better at knowing when to pick them.

Frequently Asked Questions
-
When is the best time to harvest oyster mushrooms?
Just before the caps flatten fully—edges should curve slightly downward. -
What tools should I use to harvest oyster mushrooms?
A sharp knife or scissors works best to cut the cluster cleanly at the base. -
Do oyster mushrooms keep growing after harvest?
Yes, most substrates or grow bags can produce multiple flushes if kept in proper conditions. -
How do I prevent oyster mushrooms from going bad after harvest?
Store them in a paper bag in the fridge, or dry them for longer preservation. -
Can I harvest oyster mushrooms from a grow kit or grow bag?
Absolutely—Mushroom Grow Bags provide consistent humidity and airflow, making it easier to spot the right harvest window.
Start Harvesting Like a Pro
Good ways to grow oyster mushrooms come down to patience, good timing, and watching them. When you know exactly when to pick mushrooms, you get the best taste, nutrients, and more flushes. With the right tools and habits—like tracking pinning stages and checking the environment—you will become a confident picker. You will enjoy homegrown mushrooms that are better than any you buy in a store.
Want even more success? Check out top-rated grow kits, tools, and growing guides at Zombie Mushrooms. This will help you grow gourmet oyster mushrooms.
Citations:
Stamets, P. (2005). Mycelium Running: How Mushrooms Can Help Save the World. Ten Speed Press.
Chang, S. T., & Miles, P. G. (2004). Mushrooms: Cultivation, Nutritional Value, Medicinal Effect, and Environmental Impact. CRC Press.
USDA National Nutrient Database. (2020). Retrieved from https://fdc.nal.usda.gov/
Bernaś, E., Jaworska, G., & Lisiewska, Z. (2006). Edible mushrooms as a source of valuable nutritive, nutritional and dietetic substances. Food Chemistry, 105(4), 1220–1226. https://doi.org/10.1016/j.foodchem.2007.04.031


