Mushroom Monotub Tek: How to Grow Mushrooms in a Monotub - A Step By Step Guide

Growing mushrooms is a fun hobby that lets you learn about the weird world of fungi and also produces edible or medicinal mushrooms in your own home. There are many ways to grow mushrooms but the monotub method has become one of the most popular among hobbyists and intermediate growers because of its simplicity, low maintenance and scalability. A monotub fruiting chamber provides the perfect environment to grow mushrooms with ventilation ports, filter disks and great humidity control for healthy mushroom growth.

In this guide we’ll take you through every step of the process from understanding what a monotub fruiting chamber is to managing the fruiting phase of mushroom cultivation. Whether you’re just starting out or looking to fine tune your technique this guide will give you the knowledge and supplies for a successful harvest.

1. Monotub Introduction

The mushroom monotub tek method of cultivation uses a large plastic bin (often referred to as the monotub) to provide a controlled environment for fungi to grow. This DIY method is great for growing mushrooms indoors and is low cost to start and relatively hands off after initial setup. Commercial growers use more complex systems but the monotub fruiting chamber is a simple and effective way to grow mushrooms on a small to medium scale.

Monotub Benefits:

  • Low cost: You can make a monotub from materials you have at home or can buy at your local store.

  • Easy: Less maintenance and attention required compared to grow bags or shotgun fruiting chambers.

  • Adjustable: Can be modified to adjust airflow, humidity and temperature for different mushroom species.

  • Scalable: Add more monotubs to increase production without having to change your whole setup.

The beauty of the monotub is its simplicity, adaptability and ability to produce lots of mushrooms with minimal work once set up.


2. Monotub Method and History

The monotub method was born out of the need for a simple way to grow mushrooms that hobbyists could use without a professional setup. It’s based on the traditional spawn-to-bulk method where mushroom spores are grown on a nutritious bulk substrate in a controlled environment.

Monotub Tek Method: 🧟‍♀️aadwdfEEE

The idea is simple: mycelium (the vegetative part of the fungus) is mixed into a nutritious bulk substrate and put into the monotub. The mycelium colonizes the substrate over time until it’s fully colonized and then the fruit body forms and mushrooms fruit. Once the mushrooms start to pin (develop small heads) they grow into full size and are ready to harvest.

How is the Monotub Tek different?

There are several mushroom growing methods, each with its pros and cons. The monotub tek is different from others in:

  • Shotgun Fruiting Chambers (SGFC): Great for small scale growers, SGFC require more frequent misting and monitoring of humidity. Monotubs retain moisture better due to the enclosed environment.

  • Grow Bags: Grow bags are super hands off, set and forget. This is a shortcut to a monotub and is more appealing if you just want to inject and forget about it. Grow bags get slightly less yields due to less surface area.

  • Outdoor Growing: Unlike open air or garden setups, monotub tek is ideal for indoor growing which means you can control temperature, humidity and airflow. This controlled environment is less prone to environmental contamination and pests.

In the end, it’s the ease of use and flexibility that has made the monotub method so popular among growers.


3. Choosing the Right Mushroom Species for Growing

When it comes to growing mushrooms, choosing the right species is key to a successful harvest. With so many varieties to choose from, it can be overwhelming for beginners. Remember, it’s very common to grow cube genetic mushrooms in a monotub fruiting chamber but you can actually grow many other mushrooms using a monotub tek. Here are some factors to consider when choosing a species:

When Choosing a Species:

  • Climate and Environment: Different mushroom species grow in different climates and environments. Consider the temperature, humidity and light exposure in your growing area. Some species prefer cooler temperatures while others prefer warmer.

  • Growth Rate: Some mushroom species grow faster than others. If you want a quick harvest choose a species that grows faster. This is especially good for beginners as you get quicker results and feedback.

  • Yield: Consider the yield of the mushroom species. Some species produce more mushrooms per substrate than others. This can be a deciding factor if you want a high volume harvest.

  • Ease of Cultivation: Some mushroom species are easier to cultivate than others. Consider the level of maintenance and care required. Beginners might want to start with species known for their hardiness and ease of growth.


4. What You’ll Need to Grow Mushrooms in a Monotub

Before you start mushroom growing, make sure you have all the supplies you need to set up and maintain your monotub fruiting chamber. These aren’t complicated but are necessary for a successful setup.

Monotub Supplies:

  1. Monotub: A clear or semi-transparent plastic bin, about 50-60 quarts. The clarity allows you to monitor the colonization without opening the monotub. Brands like Sterilite or Rubbermaid work well and can be found at most home goods stores.

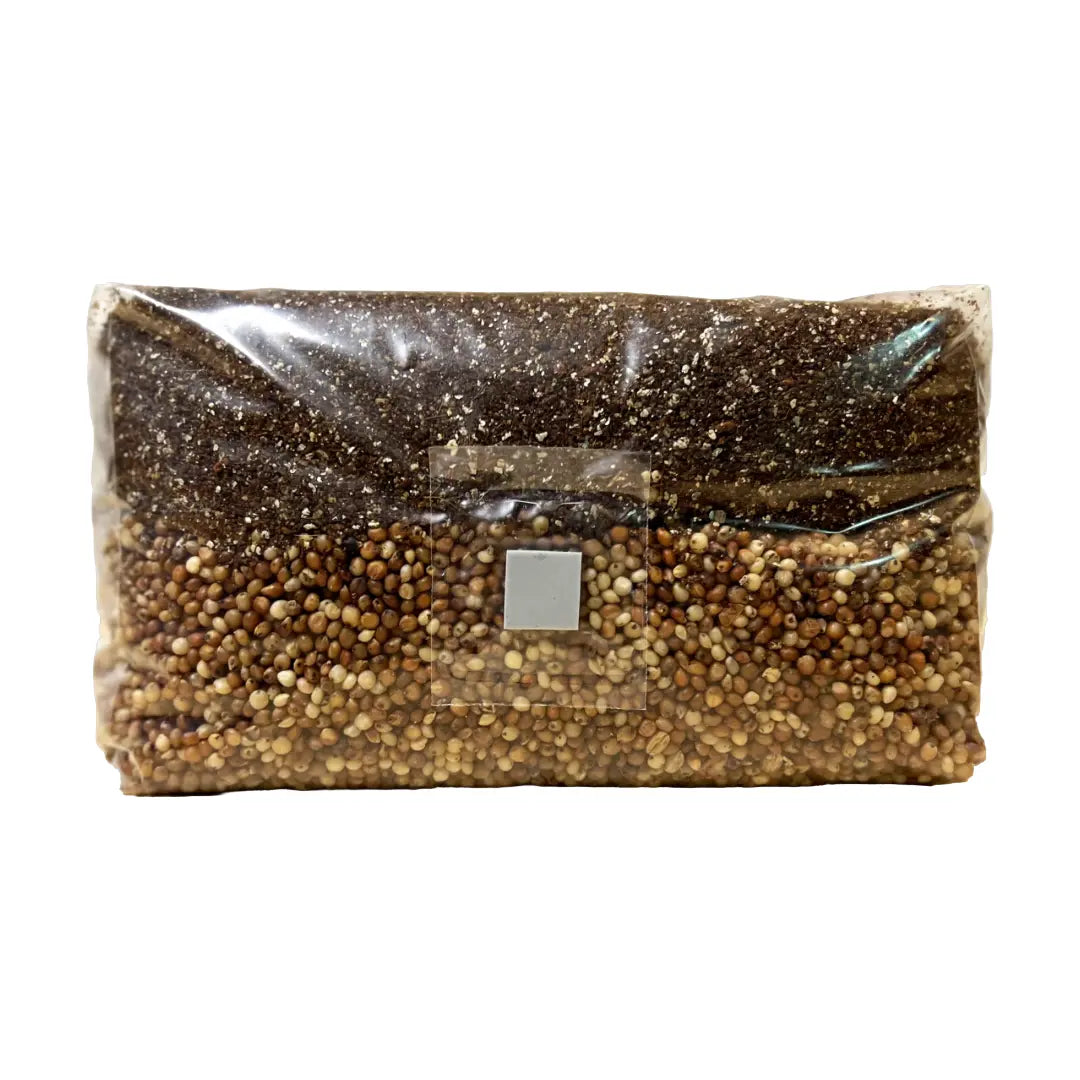
  2. Grain Spawn: This is your starting culture of mycelium, also known as mushroom spawn. Grain most commonly colonized with mycelium is rye or millet. You can purchase sterilized grain spawn from a supplier or prepare your own by inoculating grain with a mushroom spore syringe or liquid culture.

  3. Bulk Substrate: The substrate is the material the mushroom mycelium will grow on. Common substrates are CVG substrate or coco coir (a fiber from coconut husks), vermiculite (which helps retain moisture) and sometimes manure or gypsum to enrich the nutrient profile.

  4. Mushroom Spores or Liquid Culture: Spores need to colonize the substrate. If you’re not using pre-colonized spawn, you’ll need a spore syringe or liquid culture to inoculate the grain.

  5. Drill with Hole Saw Attachment: Used to create holes in the monotub for air holes and Fresh Air Exchange (FAE).

  6. Polyfill or Micropore Tape: These are used to cover the holes in the monotub for air exchange and high humidity. Polyfill is found in stuffed animals or at craft stores and micropore tape is a breathable adhesive medical tape.

  7. Hydrometer (Optional): Although optional, a hygrothermograph or hydrometer can help you monitor the humidity in the monotub during the fruiting phase.

  8. Thermometer (Optional): Temperature is key to mushroom growth so it’s important to monitor it to stay within the optimal range.

  9. Spray Bottle (Optional): For misting the inside of the monotub to maintain high humidity.


5. Building Your Monotub: A How-To

Now it’s time to build your monotub. Whether you buy a pre-made tub or make your own from a plastic bin the goal is to create an environment for mushroom fruiting.

Step-by-Step Guide to Building a Monotub:

  1. Drill Holes for Fresh Air Exchange (FAE):

  • Grab your drill and use a hole saw attachment (1.5” or 2” recommended).

  • Drill 2 to 4 holes evenly spaced just above the substrate level on all four sides of the monotub. These will be for lateral airflow.

  • Drill 2 more holes near the top on the shorter sides of the monotub (for upward air circulation)

  1. Polyfill or Micropore Tape or Filter Patch:

  • Fill the holes in the monotub with polyfill or cover them with a filter patch. This allows fresh air to circulate while preventing contaminants from entering.

  • Polyfill is easy but micropore tape or a filter patch gives more control and reliability for experienced growers.

  1. Liner to Prevent Side-Pinning:

  • Mushrooms can sometimes grow on the sides of the monotub between the substrate and the walls (a problem known as side-pinning). By adding a thick black plastic liner to the bottom and sides of the monotub you can prevent light from reaching the sides and side-pinning.


6. Sanitize Your Workspace and Monotub: The Most Important Step

This is probably the most critical step in any mushroom growing project. A clean and sterile environment is key to preventing mold and bacterial contamination from ruining your harvest. Whether you’re making your own spawn or just preparing your monotub for inoculation, sanitation is crucial.

How to Sanitize:

  1. Clean the Work Area: Start by cleaning your workspace with a disinfectant spray (Lysol) and wiping down surfaces with isopropyl alcohol.

  2. Sanitize All Equipment: Sterilize everything that will come in contact with the grain, substrate or spores. Use rubbing alcohol (70% or higher) on your monotub, utensils and any surface your equipment will touch. If you’re inoculating with a syringe, make sure to flame-sterilize the needle tip before use.

  3. Personal Sanitation: Wear sterile gloves and a facemask to minimize airborne contaminants entering your setup. You can also wear a hairnet or cover your head to prevent loose hair from falling into the sterile environment.

  4. Still Air Box: If you’re inoculating grain spawn or making substrate mixtures consider using a still air box (SAB). This creates a low-airflow environment where contaminants are less likely to swirl into your setup. This is a critical step in preventing cross contamination.

Common Mistakes to Avoid:

  • Skipping Sanitization: Many first time growers skip this step thinking it’s not important. This is a big mistake and will lead to contamination, slow growth and sometimes a complete fail.

  • Not Sanitizing Tools Between Uses: Every time you handle your grain, substrate or monotub you need to re-sanitize your tools. After a successful monotub grow it gets a little funky. You should deep clean your monotub before using it again.


7. Making or Buying Mushroom Grain Spawn

Grain spawn is the foundation of your mushroom growing project as it’s the medium for your mycelium to colonize before transferring to the bulk substrate in your monotub which is critical for how mushrooms grow.

Two Ways to Get Grain Spawn:

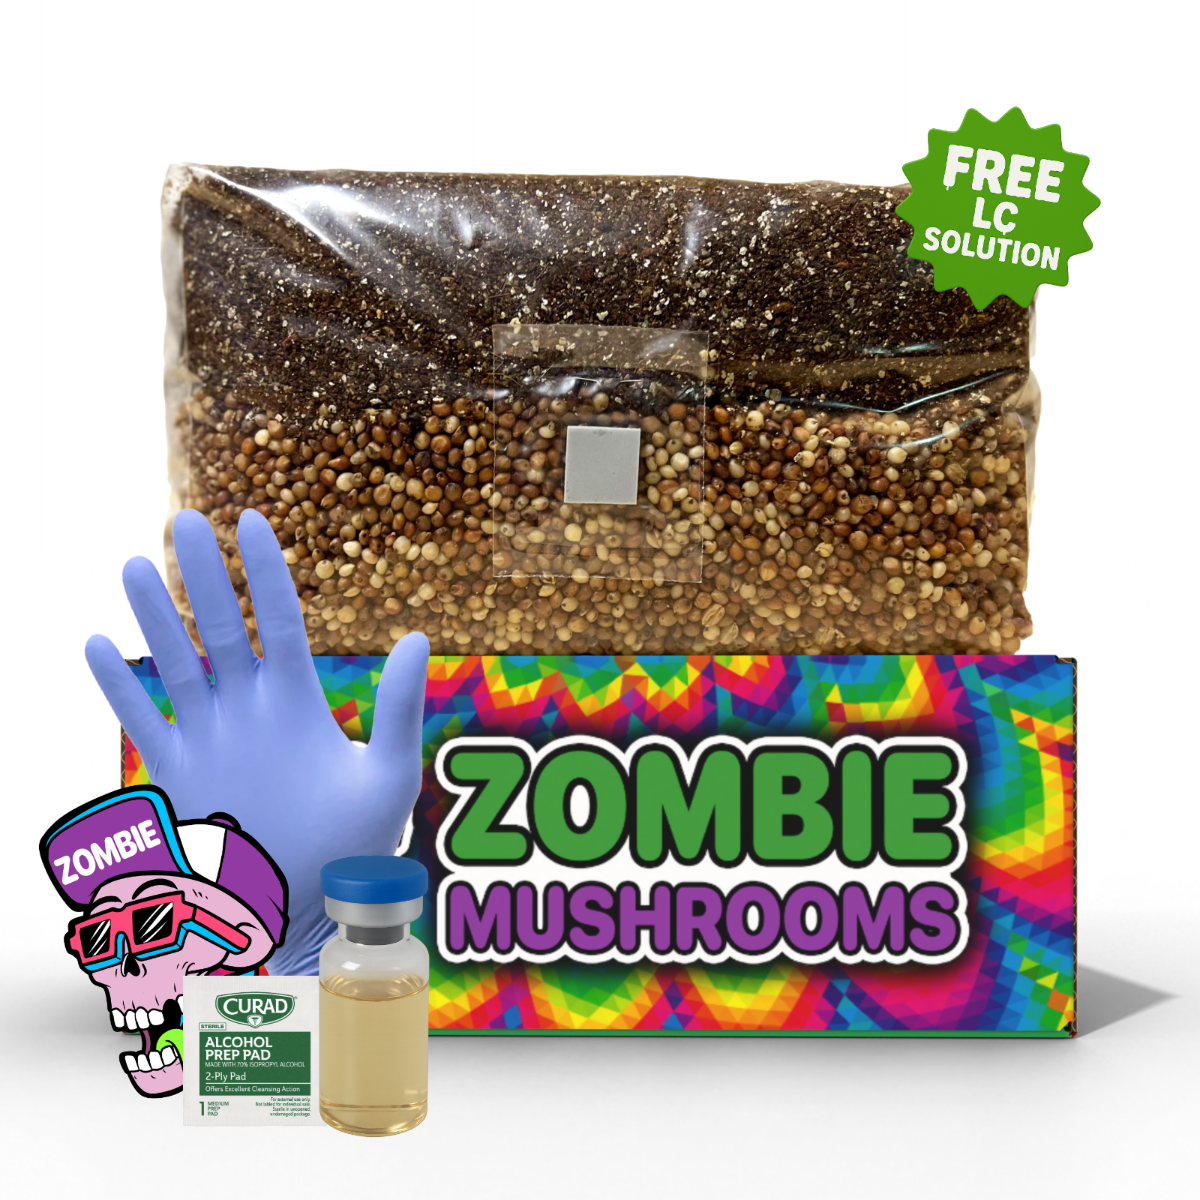
  1. Buying Pre-made Grain Spawn: For beginners or those who want to simplify the process buying spawn from a reputable supplier can save time and effort. Suppliers pre-sterilize the grains, inoculate them with spores and ensure the spawn is contamination free.

  1. Making Your Own Grain Spawn: More experienced growers often prepare their own grain spawn using sterilized grains like rye, wheat, millet or even wild birdseed. The process involves hydrating the grains, sterilizing them in a pressure cooker and inoculating the sterilized grains with spores or liquid culture.

Grain Steps:

  1. Soak your chosen grains for 12-24 hours to hydrate them.

  2. Boil the hydrated grains for 10-15 minutes to further soften them and prepare them for mycelial growth.

  3. Drain, dry and load the grains into mason jars or spawn bags.

  4. Sterilize the grain by pressure-cooking for 90 minutes.

  5. After cooling inoculate the sterilized grain with a spore syringe or liquid culture.


8. Bulk Substrate Preparation: DIY or Pre-Sterilized

The bulk substrate provides the nutrients for the growing mycelium to expand and eventually fruit mushrooms which is critical in urban gardening where space and nutrient constraints can be a problem. The choice of substrate will depend on the type of mushrooms you want to grow but the most common and effective bulk substrates are coco coir (a fibrous material from the outer coat of coconuts), vermiculite (to retain moisture) and sometimes manure or gypsum for added nutrition.

Bulk Substrate Preparation:

  1. Mix the Substrate:

  • Mix coco coir with vermiculite at a 1:1 ratio for best results. You can also add 1-5% gypsum by volume to make a nutrient rich mix.

  1. Pasteurize/Heat-Treat the Substrate:

  • Pasteurization involves heating the substrate to around 140-160°F for an extended period, usually 60-90 minutes depending on your batch size. This kills off the bad guys while preserving the good guys that help with mycelial colonization.

  • Some growers opt for sterilization which can be done similar to grain spawn by using a pressure cooker. Sterilizing however can increase the risk of contamination post-sterilization as there will be no competing microbes.

Or you can buy pre-mixed, pre-sterilized bulk substrate from specialty suppliers if you want to skip this step.


9. Inoculating the Monotub: A Hands-On

Inoculation is the process of transferring the colonized grain spawn into the bulk substrate inside your monotub. This is another critical step where sterility is key.

Inoculation Steps:

  1. Prepare your sterilized bulk substrate and grain spawn.

  2. In a sterile environment, break up the colonized grain spawn inside the bags or jars to distribute the mycelium evenly.

  3. Add the sterilized bulk substrate to the bottom of your monotub, spread an even layer of about 3-4 inches.

  4. Sprinkle the crumbled spawn over the entire surface of the substrate.

  5. Mix the grain spawn into the top layer of the bulk substrate to distribute the mycelium evenly throughout the substrate bed.

  6. Flatten the surface to ensure even colonization.

After inoculation seal the lid back on the monotub and let it incubate for a few weeks without disturbing it too much. Reduce the airflow during this phase to prevent contamination.


10. Incubation: Creating the Perfect Environment for Mycelium to Grow

Incubation is a critical phase where the mycelium spreads throughout the substrate and colonizes it entirely. During this phase you need to monitor the environment to ensure mycelial growth.

Incubation Requirements:

  • Temperature: Keep the monotub in a warm place. The ideal temperature range for most species is 70-80°F. Cooler temperatures will slow down colonization, hotter temperatures will contaminate or damage the mycelium.

  • Humidity: The humidity in the monotub should be very high, 90-95%, to promote healthy mycelium growth.

  • Light: Mycelium doesn’t need light to colonize but some indirect light can help stimulate growth. Don’t place your monotub in direct sunlight.

Monitoring Mycelial Growth:

Check on it intermittently by looking at the surface of the substrate (without lifting the lid). You’ll see white patches of mycelium starting to spread. As it progresses the white patches will merge and eventually cover the entire substrate in a white veil. This can take 1-4 weeks depending on environmental conditions and mushroom species.


11. Casing the Substrate & Fruiting

Once the entire substrate has been colonized some mushroom species will require a casing layer to trigger the next phase of growth: fruiting.

What is a Casing Layer?

A casing layer is a non-nutritious, sterile layer applied on top of the substrate to stimulate the formation of mushroom caps and pins (the early stage of mushrooms). It’s usually a mix of peat moss and vermiculite.

Casing Layer:

  1. Once the substrate is fully colonized, open the monotub in a clean area for a few minutes.

  2. Add a thin, even layer of casing material (about ½ inch) on top of the substrate.

  3. Mist the casing layer to make sure it’s moist but not waterlogged.

  4. Put the lid back on the monotub but start increasing the airflow by loosening the polyfill or micropore tape on the holes.

Casing material should always be sterilized before application to prevent contamination.


12. Fresh Air Exchange (FAE) and Additional Humidity Control

Once your mycelium has colonized the substrate and the casing layer is in place it’s time to create the conditions for fruiting. This includes managing fresh air exchange and humidity.

Fresh Air Exchange (FAE):

Fresh air signals to the mycelium it’s time to fruit. Unlike the incubation phase where excess airflow was minimized, now you need to provide fresh air to your monotub by adjusting polyfill or micropore tape and increasing passive airflow. But too much airflow will reduce humidity so you need to find the balance.

Humidity Control:

  • Ideal Fruiting Humidity: 85-95% humidity is good during the fruiting phase.

  • Condensation: You should see visible signs of condensation and even water beads dripping down the side of the monotub wall occasionally.

  • Humidifiers: If your ambient humidity is low you can use a humidifier to add moisture to the air around the monotub.

  • Misting: Mist the inside of the monotub with a spray bottle as needed but don’t mist the substrate or mushrooms.

Don’t let the monotub get too dry or too wet as improper moisture can harm mushroom growth.


13. Fruiting Mushroom Growth

Once fresh air and humidity are set, the mushrooms will start pinning which is the stage where they will actually start to grow.

Pinning:

  • Pins: Tiny mushroom heads will appear all over the substrate. These pins will grow into mature mushroom fruiting bodies. During this time mushrooms can double in size every 24 hours.

  • Ideal Conditions: Keep an eye on the monotub during fruiting. Monitor humidity, airflow and general monotub conditions daily as any imbalance can stunt growth or cause contamination or stalled fruiting.

Harvest:

Mushrooms are ready to harvest when the cap opens but before they release spores. This can be seen when the veil under the mushroom cap starts to break away. A typical fruiting cycle from pinning to maturity takes 1-2 weeks.

Harvest mushrooms by cutting or twisting them from the substrate base. Don’t damage the substrate during harvest as leftover mushroom stumps can rot and spread contamination.


14. Common Problems and Contamination Issues

Contamination is one of the biggest concerns during the monotub process and can lead to failed colonization, wasted time and even dangerous molds. Here are some tips to avoid these:

Common Contaminants and Causes:

  • Green Mold (Trichoderma): One of the most common problems for growers; it appears as green patches on the substrate and can take over the monotub if not caught early. It’s usually caused by poor grain sterilization, non-sterile environment or too wet substrate.

  • Bacterial Contamination: Recognized by a sour smell or slimy patches on the substrate. This is usually caused by too much moisture or high temperatures during incubation.

Prevention:

  1. Sterilization: Always prioritize sterilization of your workspace, equipment and all ingredients (substrate, casing, grain).

  2. Good Hygiene: Wear gloves, mask and other protective clothing when handling the monotub or grain spawn.

  3. Immediate Action: If you see any sign of contamination, isolate the affected area or in extreme cases dispose of the contaminated tub to protect other monotubs in your grow space.

By addressing these risks beforehand you’ll increase your chances of growing a healthy and productive crop.


15. Timeline: From Start to Harvest

Patience and persistence are key when it comes to growing mushrooms. Here’s a general monotub timeline:

Monotub Timeline:

  1. Inoculation to Colonization: 2-4 weeks depending on the mushroom species and environment.

  2. Incubation: After inoculating the bulk substrate you can expect the substrate to fully colonize in 2-4 weeks.

  3. Fruiting: Fruiting will occur 10-15 days after substrate colonization if all is well.

  4. Harvest: Mushrooms will be ready to harvest in 4-8 weeks after inoculation depending on the strain.

Adding in temperature delays or occasional contamination battles you should harvest in 1.5-2.5 months.


16. Scaled Up Mushroom Grows: Stacked Monotub Setup

One of the benefits of the monotub method is you can stack multiple tubs on top of each other, so you can make the most of your space and grow more in a small area. By placing monotubs on a shelving unit you can create a multi level system that takes up minimal floor space. To set up a stacked system make sure each tub has good airflow, humidity and indirect light.

Tips for Stacking Monotubs:

  • Shelving: Use a sturdy shelving unit that can hold the weight of several monotubs and has space between each for airflow.

  • Humidity and Airflow: Have a humidifier nearby and a small fan on low to maintain airflow and prevent CO₂ buildup.

  • Staggered Growth Cycles: Stagger the growth stages of each tub for easy harvesting and to reduce resource demand on humidity and air exchange.

A stacked monotub setup is perfect for those with limited space like closets or small rooms.


17. Advanced Methods for Maximizing Mushroom Growth

Now that you’ve got the basics down you can move on to the advanced stuff. Here’s some advanced methods:

Advanced Methods for Higher Yield:

  • CO2 Supplement: Adding CO2 to your environment will increase mushroom yield and growth rate. This mimics the natural conditions mushrooms love and will give you more robust growth.

  • Automated Climate Control: Investing in automated climate control will help you maintain optimal temperature and humidity levels and will give you higher yields. Useful for those who want to scale up.

  • Advanced Substrate Formulations: Try different substrate formulations to get higher yields and better mushroom quality. Add coffee grounds or horse manure to give extra nutrition for growth.

  • Pest Control: Implement integrated pest management and monitor regularly and use natural predators or organic treatments to keep pests away.

  • Mycelium Management: Manage your mycelium growth and you’ll get higher yields and better mushroom quality. Grain-to-grain transfers will help you expand your mycelium fast and efficient.

By using these advanced methods mushroom growers can maximize their yields and produce better mushrooms. Whether you’re an experienced grower or just starting out these will take your mushroom growing to the next level.


18. Environmental Benefits of Monotubs vs Plastic Bags

As mushroom growing becomes more popular so does the need to think sustainable. Traditional grow bags are used in both small scale and commercial mushroom growing and are convenient for beginners but have a big environmental downside. Monotubs are a more eco friendly option that supports long term reuse and reduces plastic waste. Let’s see why monotubs are the greener choice for mushroom growers:

Reusability of Monotubs

Monotubs are designed to be durable, you can use them multiple times over many grow cycles. Unlike plastic grow bags which are thrown away after one use, a well maintained monotub can last for years. With proper cleaning and care between cycles a single tub can produce multiple harvests without losing effectiveness or function. This reduces the amount of single use plastic waste greatly, making monotubs the more sustainable choice for the eco conscious cultivator.

Reduction of Plastic Waste

Plastic grow bags are cheap and easy to use but not biodegradable and contribute to the plastic waste problem. Each grow bag is thrown away after one use and adds to the landfill and environmental pollution. Monotubs are made from more durable plastic designed for re-use. By buying a re-usable monotub you can reduce your use of single use plastic and the environmental impact of your mushroom cultivation.

Cost Savings and Sustainability

While the upfront cost of a monotub is slightly more than a bag of grow bags the long term savings are huge. Because monotubs can be used for years they are a cost effective and sustainable option, no more buying bags for each grow. This makes the monotub method not only eco friendly but also budget friendly for hobbyists and small scale growers who are mindful of both.


Key Takeaways

  1. Monotub cultivation is one of the easiest methods for indoor mushroom growing, offering a low-maintenance setup that is perfect for home growers and hobbyists.

  2. Sterilization is essential at every stage to minimize contamination risks, from cleaning equipment and the monotub to handling spore syringes, grain spawn, and substrate.

  3. Humidity and Fresh Air Exchange (FAE) are key components for healthy mushroom growth, especially during the fruiting phase where you want high levels of both.

  4. Casing: Some species require a casing layer to stimulate the fruiting process, which is usually created from non-nutritive materials like peat or vermiculite.

  5. Harvesting mushrooms is done once caps begin to peel away from their stems. Timely harvesting prevents spores from releasing, which can affect subsequent flushes.

  6. Expected timeframes range from 4 to 8 weeks from initial inoculation to harvest, depending on species and environmental conditions.

Over time, as you experiment with different mushroom species and tweak your environment, you'll refine your techniques and potentially automate more aspects of the process. The beauty of the monotub method lies in its flexibility as well as its minimal maintenance, allowing you to cultivate mushrooms with relative ease once systems are in place.

By following this guide and remaining vigilant against contamination, you’re well on your way to creating a successful mushroom-growing setup that can supply you with fresh, home-grown mushrooms for cooking, medicinal use, or personal exploration.


Ready to embark on your mushroom-growing journey? Check out our online store for high-quality grow kits, sterile grain spawn, and pre-mixed substrates available for purchase. Don't forget to subscribe to our newsletter for more expert tips on mushroom cultivation and updates on the fascinating world of fungi!

Leave a comment

All comments are moderated before being published