⬇️ Prefer to listen instead? ⬇️

- 🍄 Casing layers greatly increase yields for species like Agaricus bisporus
- 💧 Casing layers hold moisture and keep the micro-environment steady.
- 🚫 Casing is not needed for oyster, lion’s mane, and enoki mushrooms.
- 🧪 A good casing pH is between 7.5 and 8.0 for best mycelium growth.
- ⚠️ Pasteurizing casing material greatly lowers the risk of contamination.
If you've grown mushrooms at home and wanted bigger, healthier flushes, you’ve probably heard about the mushroom casing layer. But is it really needed, or just another step that makes growing harder? This article will explain what a casing layer does, when to use it, and how to apply one. For many growers, it can lead to much better yields. And when paired with our Monotubs or Mushroom Grow Bags, a proper casing layer can create the ideal environment for strong colonization and abundant flushes.

What is a Mushroom Casing Layer?
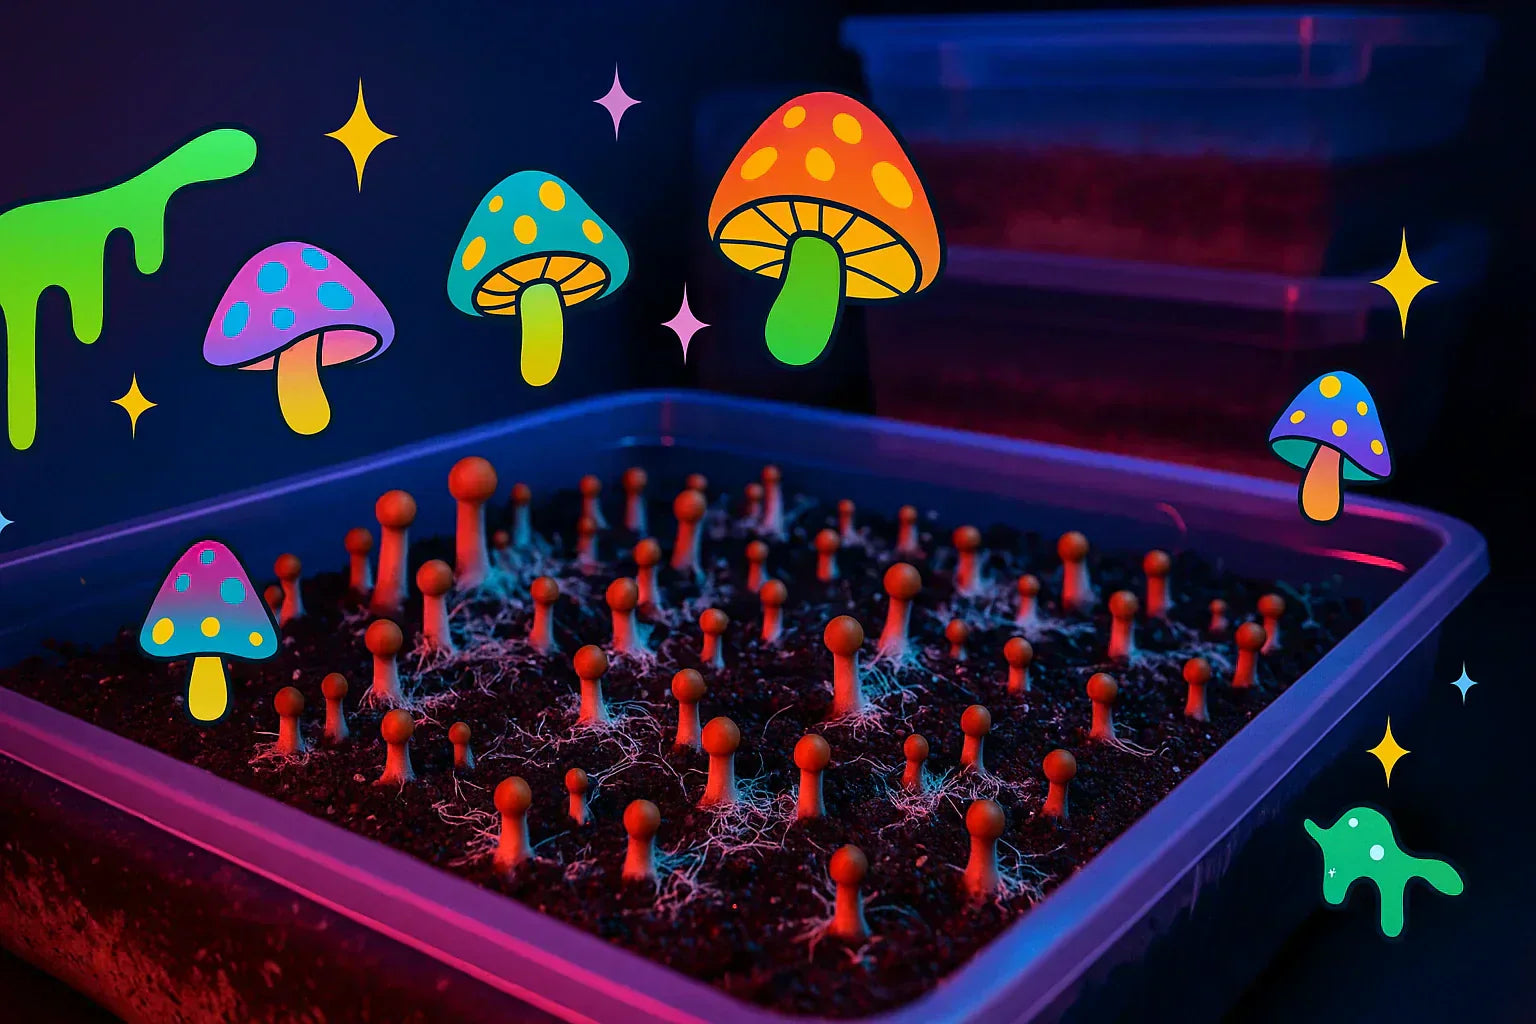
A mushroom casing layer is a non-food top layer put on fully grown bulk substrate. It does not feed the fungus. Instead, it plays an important role for the environment and for the mushroom's body. It gives a moist and porous surface. This helps start and keep the fruiting phase of mushroom growth going.
Commercial mushroom farms have used casing layers for a long time, especially for species like Agaricus bisporus (button and portobello mushrooms). But now, smaller growers and hobbyists also use this method. This is because it greatly helps with pin formation and steady yields.
Unlike substrate materials, the mushroom casing layer does not give nutrients for mycelium to grow. Instead, it works like a micro-environment controller. It helps keep moisture in and controls how gases move during fruiting.

What Does a Casing Layer Actually Do?
The casing layer is a simple idea, but it does many things that are key for healthy mushroom fruiting bodies to grow:
🌫 Keeps Moisture In
The casing layer holds water. Mushrooms are about 90% water, so even small changes in surface humidity can harm pinning and growth. A casing with enough water keeps moisture near the substrate. It also keeps the micro-environment steady, especially during flushes when more water evaporates.
🍄 Starts Pinning
When the mycelium has eaten the substrate and reached the surface, it needs signals from the environment to start making pins. The casing layer creates a cooler, oxygen-rich, and more humid setting. This is like natural outdoor conditions, such as leaf litter. This starts the important change from vegetative growth to fruiting.
🛡 Helps Prevent Contamination
Pasteurized casing layers are not sterile barriers. But they create a protective physical layer. This layer can outcompete or block airborne contaminants. This layer can give you time and some protection against harmful microbes, especially for species that take longer to pin.
🌧 Keeps the Micro-Environment Steady
Mushroom fruiting needs a careful balance of humidity, oxygen, CO₂, and temperature. A casing layer cuts down on big changes. It keeps surface humidity while letting gases move. This helps a lot in places with less control, like grow tents and monotubs.
🧪 Helps Rhizomorphs Form
For some species, like Psilocybe cubensis, the casing surface helps thick rhizomorphic strands grow. These strands are very important for pin formation. A good casing lets these structures form, which helps pick good pin sites and spread nutrients.

Is It Needed for All Mushrooms?
No. It is key to know which mushrooms do well with casing and which do not.
🍄 Mushrooms That Get Help from Casing
- Agaricus bisporus (Button, Cremini, Portobello): Need a casing layer for fruit bodies to form normally.
- Psilocybe cubensis: Casing is not always needed, but it greatly improves flush size, pin density, and how long the substrate lasts.
- Copelandia cyanescens (Blue Meanies): Respond well to casing; the layer helps make stronger, steadier flushes.
❌ Mushrooms That Usually Do Not Need Casing
- Oyster Mushrooms (Pleurotus spp.): Grow better with open air fruiting and do not do well with top layers.
- Lion’s Mane (Hericium erinaceus): Grows best right from holes or cuts in substrate bags.
- Shiitake (Lentinula edodes): Get more help from cold shocking and surface care than from casing.
- Enoki (Flammulina velutipes): Grow in ways where casing layers stop their slim, upright growth.
Knowing what each species needs is very important. Adding a mushroom casing layer when it is not needed can hurt instead of help. It might stop pins from forming or cause contamination.

Does a Casing Layer Increase Yield?
In many cases, yes. It increases yields a lot.
Paul Stamets wrote in Growing Gourmet and Medicinal Mushrooms that casing layers create a good environment for many flushes. They also help make larger, more solid fruiting bodies compared to grows without casing. The casing layer helps your grown substrate last longer and be more productive. It does this by holding water better and managing pins.
Casing keeps pinning conditions good for a longer time. This stops early drying or running out of resources. This leads to:
- Bigger fruiting bodies because water is available in a good amount
- More flushes from the same block or tub
- Fewer aborts and oddly shaped mushrooms
For species that react well to casing, many growers see yields improve by 20–50% over many flushes.

Materials That Work Best for Mushroom Casing Layer
A good casing layer must retain moisture, allow gas exchange, be low in nutrients, and maintain balanced pH. Picking the right casing layer materials helps your mushroom casing layer perform well.
Recommended Materials:
-
Peat moss – fine texture, excellent moisture retention; naturally acidic, so balance the mix with hydrated lime or oyster shell.
-
Vermiculite – retains moisture effectively, inert, and resistant to mold; often used in vermiculite casing layer mixes.
-
Hydrated lime / Oyster shell – used to elevate pH toward neutral/slightly alkaline (ideal ~7.5-8.0) so the casing layer mushrooms like Agaricus and Psilocybe perform well.
Materials to Use with Caution:
-
Coco coir – can work if mixed with vermiculite and pasteurized properly; otherwise risk contamination.
-
Manure / compost – too nutrient rich for casing; better as substrate material not casing.
-
Perlite – useful for humidity control but not as primary casing material.
Proper pasteurization (hot water or steam) of your casing materials significantly reduces contamination risk while preserving helpful beneficial microbes.

How to Make a Casing Layer – Step-by-Step
Ready to make your own casing? Follow these steps to prepare a pH-balanced, contamination-resistant mushroom casing layer.
Step 1: Mix Your Base
Use equal parts by volume:
- 50% peat moss
- 50% vermiculite
This mix balances how well it holds moisture and its structure.
Step 2: Adjust the pH
Peat moss is acidic (usually pH 4.0–5.0), so balancing its pH is very important:
- Add 1 tablespoon of hydrated lime per gallon of mix
- Or, mix in crushed oyster shell flour
- The pH should be 7.5–8.0
Use strips or a digital soil meter to test the pH.
Step 3: Pasteurize the Mix
Pasteurization gets rid of most contaminant spores but keeps helpful microbes:
- Put your casing mix in hot water (140–160°F / 60–71°C)
- Keep it there for 60 minutes
- Drain it with a fine mesh or pillowcase and let it cool
Do not pressure-sterilize or boil it. Doing so can kill helpful bacteria that naturally fight bad germs.
Step 4: Apply to Grown Substrate
Once your bulk substrate is fully grown:
- Put on a casing layer that is ½ to 1-inch thick in an even way
- Do not press it down; keep it loose to help gases move
Give the mycelium 2–5 days to partly grow into the casing. After that, bring in the conditions for pinning.
Step 5: Keep Fruiting Conditions Good
Keep your fruiting chamber’s humidity above 90%. Also, give it indirect fresh air many times each day. Lightly mist the casing if the surface starts to dry. Aim for a texture like a sponge — moist but not soaking wet.
When to Add a Casing Layer
Good timing is key to stop contamination and help pinning:
- Wait until the substrate is 100% grown
- No visible pins or fruiting yet
- Look for even white mycelium covering the surface
- Some growers wait 1–2 extra days (a "consolidation phase") before putting it on
Do not add casing if the substrate is only partly grown. Contaminants can easily get into areas that are not protected.
Ideal Thickness for a Mushroom Casing Layer
The thickness of your casing layer makes a big difference for mushroom casing layer performance. Based on container size, species, and environment, here’s what works best:
-
Smaller tubs or trays – roughly ½ inch (≈ 12 mm) casing layer is sufficient to retain moisture without overwhelming substrate.
-
Larger monotubs or bulk beds – up to 1 inch works well; increases moisture retention and coverage.
-
Taller fruiting species (e.g. portobello, some Agaricus strains) – may benefit from casing layers up to 1½ inches thick.
Too thin: dry out quickly, poor pinning. Too thick: slower growth, potential for waterlogging and contamination. Adjust based on your specific setup.

Vermiculite Alone: Is It a Good Idea?
Many growers who like to keep things simple use only vermiculite for casing. They do this because it is:
- Sterile
- Chemically inactive
- Good at holding moisture
But, it does not balance pH or have much structure. Whether it works well can depend on how you control the environment and what the specific mushroom species needs.
For Psilocybe cubensis, vermiculite casing can work if you mist and provide airflow correctly. For fragile or commercial species, a stronger mix is better.

Common Mistakes to Avoid
Even a good casing will not help if you make these mistakes:
- ❌ Not Pasteurizing – This increases contamination.
- ❌ Bad pH Control – A mix with unbalanced pH can hurt white mycelium and help green mold grow.
- ❌ Mixes with Too Many Nutrients – This brings in bacteria, trichoderma, and cobweb mold.
- ❌ Pressing Down the Casing Layer – This cuts down airflow and slows growth.
- ❌ Casing Substrate Not Fully Grown – Contaminants can easily get into unprotected areas.
If you see standing water, uneven growth, or long delays in pin formation, check your moisture levels, how you pasteurized, and your choice of materials again.

Best Mushrooms for Casing Layers
Here is a summary of which species use casing:
👍 Work Well with Casing:
- Agaricus bisporus (Button, Portobello)
- Psilocybe cubensis
- Copelandia spp. (Blue Meanies)
👎 Usually Do Not Need Casing:
- Oyster mushrooms (Pleurotus spp.)
- Lion’s mane (Hericium erinaceus)
- Enoki (Flammulina velutipes)
- Shiitake (Lentinula edodes)
After Casing Care: What to Look For
Within 3–7 days of putting on your casing layer, you should see signs of mycelium growing on the surface:
- Fuzzy white tufts or rhizomorphic strands
- No black, green, or yellow spots
- A clean, earthy smell with no bad or ammonia-like odors
Manage fruiting conditions carefully:
- Mist if you see dry spots
- Fan or vent softly for gas exchange
- Do not mist directly when pins are growing
Frequently Asked Questions
-
What is a casing layer in mushroom growing?
A casing layer is a non-nutritive top layer (commonly made of peat moss, vermiculite, or a coco coir mix) applied over colonized substrate. Its main purpose is to retain moisture, promote pinning, and protect the mycelium, not to feed it.
-
Is a casing layer necessary?
Not always. Some species like oyster mushrooms fruit well without one, while others such as Agaricus or Psilocybe cubensis benefit from a casing layer to increase yield consistency and pin formation.
-
When should I add a casing layer?
Apply the casing layer only after your substrate is fully colonized. Typically, you let the mycelium grow into the casing for 2–5 days before switching to fruiting conditions.
-
What’s the best casing layer recipe?
A classic recipe is 50% peat moss + 50% vermiculite, adjusted with hydrated lime or oyster shell flour to bring pH to 7.5–8.0. This mix balances water retention, aeration, and microbial resistance.
-
Can I use coco coir as a casing layer?
Coco coir can be used if it’s properly pasteurized and balanced with vermiculite and lime. However, because it contains some nutrients, it has a higher contamination risk compared to peat-based or vermiculite casing layers.
-
How thick should my casing layer be?
Generally, ½ to 1 inch is sufficient for most monotubs and trays. Larger bins or taller mushroom species may benefit from up to 1.5 inches, but going thicker increases contamination risks.
So… Is It Worth It?
Yes, it is — if your species gets help from one. A mushroom casing layer is not always needed. But when used well, it greatly improves pin formation, steady yields, and moisture control. It makes a good grow much better.
You can improve your mushroom growing a lot by learning how to make a casing layer and putting it on at the right time. This will help you, whether you want bigger yields or are trying new species.
References
Stamets, P. (2000). Growing Gourmet and Medicinal Mushrooms (3rd ed.). Ten Speed Press.
Kwon-Chung, K. J., & Bennett, J. E. (1992). Medical Mycology. Lea & Febiger.
Chang, S. T., & Miles, P. G. (2004). Mushrooms: Cultivation, Nutritional Value, Medicinal Effect, and Environmental Impact (2nd ed.). CRC Press.

