⬇️ Prefer to listen instead? ⬇️

- 🍄 Oyster mushrooms can fully colonize jars within 10–14 days under optimal conditions.
- 🧪 Studies confirm that oyster species tolerate semi-sterile environments better than many gourmet varieties.
- 📉 Contamination is most often caused by overhydrated substrate or improper sterilization methods.
- 🏠 Jar-based cultivation is ideal for small-scale home growers and beginners due to low startup cost.
- 🌱 Second and even third flushes are possible from single jars with proper post-harvest care.

Growing Oyster Mushrooms in Jars – Is It Worth It?
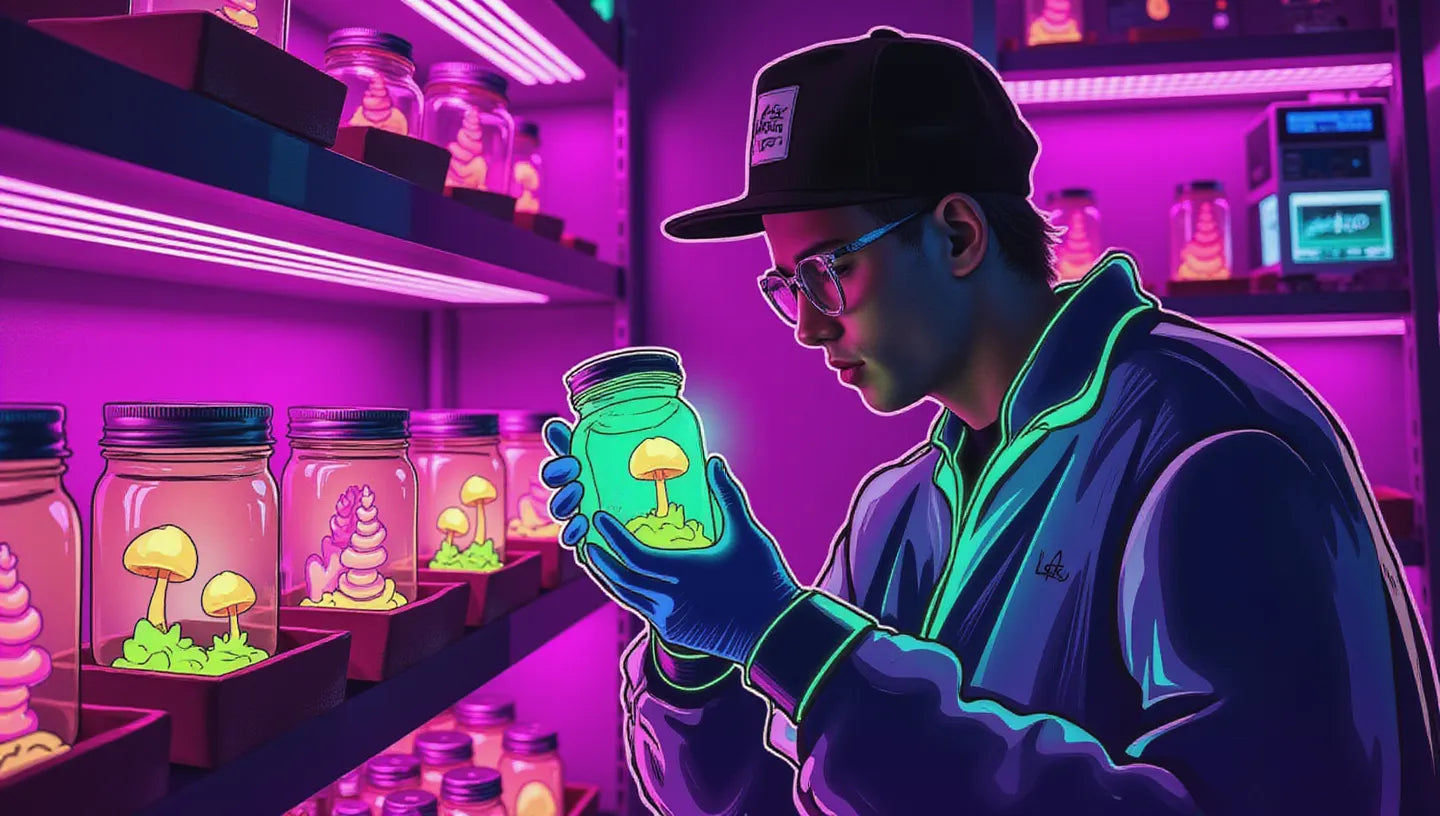
Growing oyster mushrooms in jars is a simple and space-saving way to start cultivating mushrooms at home. It’s perfect for hobbyists, apartment growers, or anyone who wants to skip complex setups. With some patience, a few tools, and a clean process, you can get great results right from your kitchen shelf. Using liquid culture jars or grow bags makes the process even easier and more consistent. In this guide, we’ll cover each step in detail—from choosing the right substrate to getting your first flush.

Why Choose Oyster Mushrooms for Jar Growing?
Oyster mushrooms (Pleurotus species) are great for beginners. They grow fast and do not need much equipment. Compared to other good mushrooms, like shiitake or lion's mane, oysters are much easier to grow. They can handle many different environments. And they grow fast. They also fight off some contaminants better than other fungi.
The most popular types for home growing are Pleurotus ostreatus (classic oyster), Pleurotus djamor (pink oyster), and Pleurotus citrinopileatus (golden oyster). Most kinds can grow through sterilized grain jars in less than 2 weeks. They start fruiting soon after, if conditions are right. Stamets (2000) says these mushrooms can fully grow through quart-sized grain jars in just 10 days. This happens when you keep them at 75°F (24°C).
Oyster mushrooms help you learn how to work cleanly. They also help you get good at substrate hydration. And you learn how to tell clean mycelium from contamination. Schools often use them to show how fungi grow. They make a good addition to biology classes or homeschool lessons.

Essential Tools and Equipment
To grow oyster mushrooms well in jars, you will need a few main things. These are for keeping things clean, getting your substrate ready, and incubating. The good part is that most of what you need is easy to find and does not cost much.
Mushroom Grow Tools Checklist
- Wide-mouth mason jars (quart): These make inoculation and airflow easier.
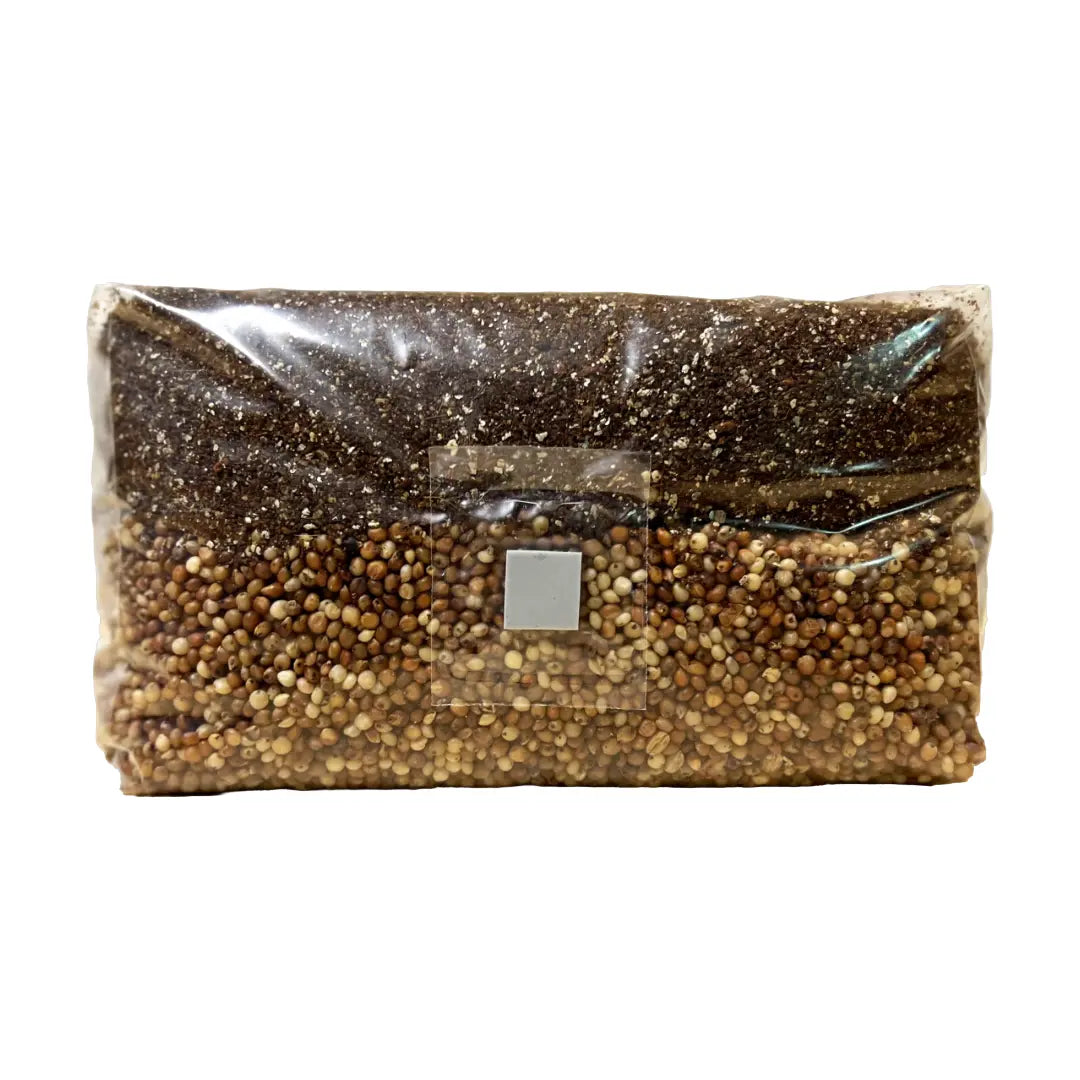
- Sterile grain spawn or liquid culture syringe: This is your mushroom "seed."
- Micropore tape and aluminum foil: Use these for lids that let air in but keep bad things out.
- Gloves, isopropyl alcohol (70% or higher), scalpel, and labels: These help you handle things cleanly and keep track of batches.
- Still Air Box (SAB): This gives you a fairly clean place to do transfers.
- Pressure cooker or Instant Pot: These make your grain or substrate clean before you add the mushroom culture.
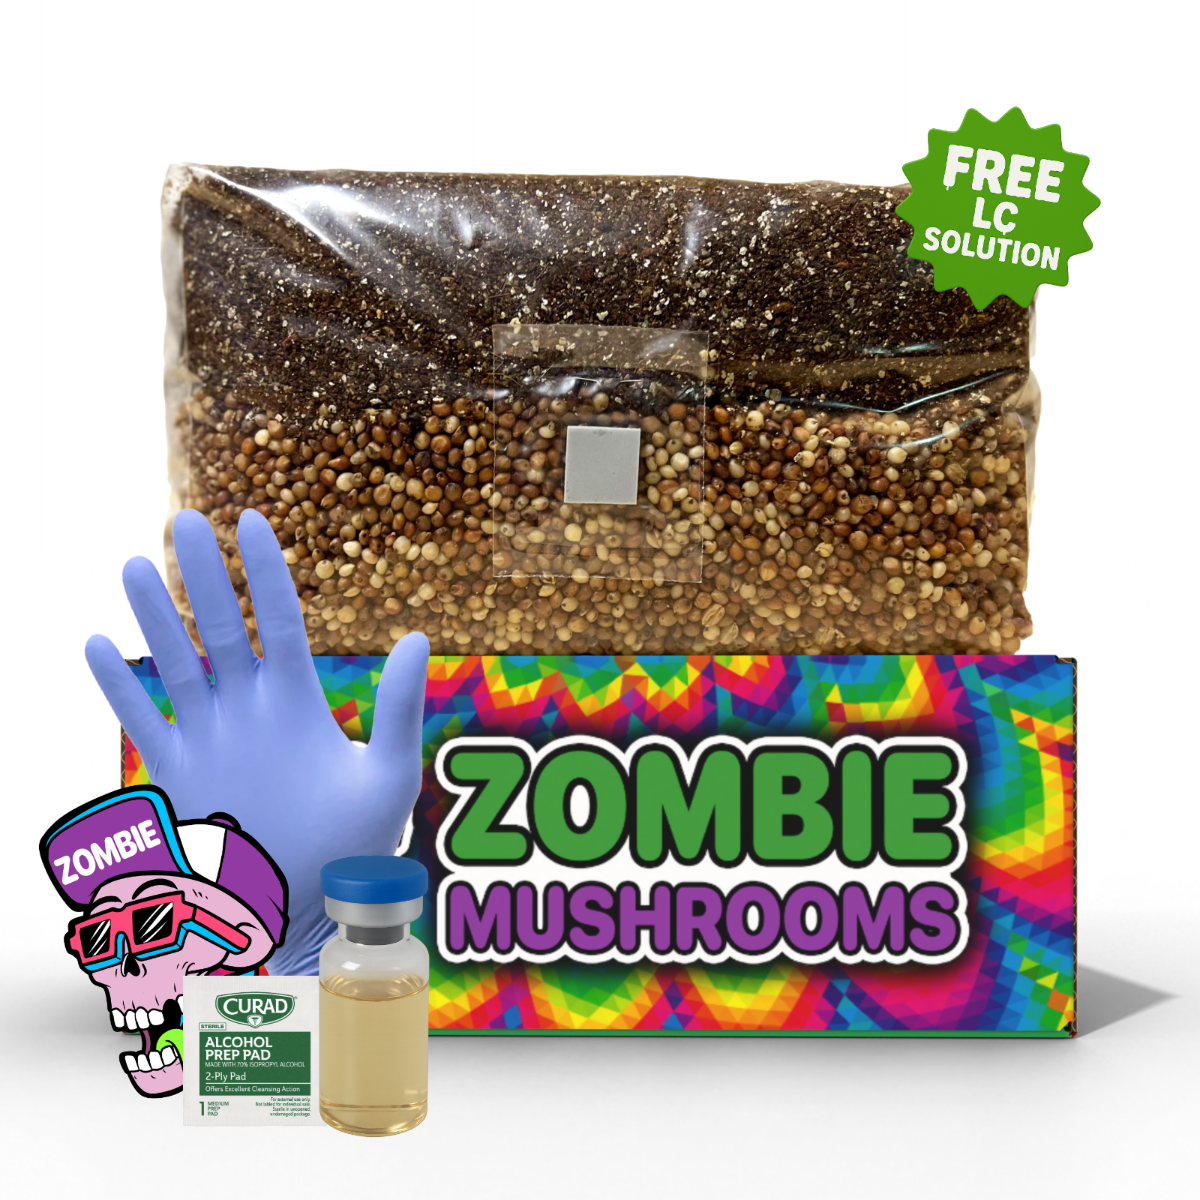
Beginners can make learning easier. They can buy jars or spawn that are already clean from places like Zombie Mushrooms. These vendors sell starter kits just for growing at home.

Choosing the Right Substrate
Substrate is the material your mushroom culture will grow through. It then turns into mushrooms. For oyster mushrooms in jars, grains give them good food and structure.
Top Substrate Options for Jar Grows
- Rye Berries: Many people like these. They hold water well and have lots of nutrients.
- Millet: This grain is smaller. That means more places for the mushroom culture to start, which makes it grow faster.
- Wild Bird Seed (WBS): People often use this because it is cheap and easy to get.
- Brown Rice or Corn: You can use these. But they get bacterial contamination more easily if they are too wet.
You can add other things for more food. But these also make contamination more likely if you do not sterilize them:
- Spent coffee grounds (pasteurized before use)
- Coco coir mixed with vermiculite
- Shredded straw (properly pasteurized)
Ideal Moisture Level
Your grain needs enough water for the mushroom culture to grow. But it should not be so wet that bacteria can grow well.
Field Capacity Test: Squeeze a handful of grain. Only one or two drops of water should come out. If too much water runs off, your grain needs more time to dry before you put it in jars.

Sterilizing Jars and Tools
Keeping things clean is very important. Every tool and surface must be ready, like a small lab. This is true whether you work in your kitchen or a basement.
Sterilization Essentials
- Grain Jars: Cook these in a pressure cooker at 15 PSI for about 90 minutes. This kills bad spores, molds, and bacteria that could fight with your mushroom culture.
- Tools: Wipe scalpels, jar lids, and gloves with isopropyl alcohol. Do this before you move anything.
- Space: If you make a Still Air Box (SAB), use a clear plastic bin with two arm holes. Clean the inside well before you start.
Are you using an Instant Pot? It can work. But the most pressure it usually gets to is about 12 PSI. If you use this way, cook each batch for at least 2 hours.

Inoculating Your Jars
Once the clean jars are completely cool (room temperature), you can put in your oyster mushroom culture.
Steps for Inoculation
- Clean SAB and Tools: Spray or wipe with alcohol.
- Wear Gloves: Clean them before and during your work, as needed.
-
Culture Transfer:
- Liquid Culture: Push 1–2 ml through a self-healing injection port or an open lid. Do this inside the SAB.
- Grain-to-Grain Transfer: Use a clean spoon to scoop a tablespoon of mushroom-grown grain. Drop it into new jars.
-
Seal and Label:
- Cover jar holes with micropore tape.
- Add labels. Write down the date, strain, and type of culture you used.
- Shake Gently: Spread the contents evenly over the grain.
- Keep in the Dark: Keep temperatures at 70–75°F in a closet or cabinet. This helps the mushroom culture grow well.
Clean work is key here. Most contamination starts when you handle things at this stage.

Colonization Timeline and Visual Guides
Colonization happens when your mushroom culture grows through the grain. It turns the grain white with stringy mycelium.
Colonization Timeline
- Days 0–5: You will see little to no growth.
- Days 5–10: The mycelium starts to spread in white spots.
- Days 10–14: The whole jar fills with mushroom culture. This happens when the temperature and water levels are best.
- Days 14–21: Some types might start making small mushrooms (pins) by themselves inside the jar. This is if conditions are good.
Healthy vs. Unhealthy Signs
Healthy Jars:
- Growth that is all white and even.
- No odd colors or bad smells.
- No water sitting inside the jar.
Contaminated Jars (Discard Immediately):
- Green mold (Trichoderma): This looks like powder. It grows very fast.
- Black pin mold: This often means contamination that grew without air.
- Sour/bad odor: This means bacterial contamination.
Vilgalys et al. (2006) say that getting green mold spores on you can make asthma worse. So, do not handle it indoors. Put moldy jars in sealed plastic bags. Take them outside your home quickly.

Contamination and Mistake Management
If a jar fails, do not worry. Most growers deal with contamination sometime. Knowing the common reasons helps stop future failures.
Common Errors to Avoid
- Not enough sterilization: Pressure cook for the full 90 minutes. Do not take shortcuts.
- Wet substrate: Too much water helps bacteria, like Bacillus, grow.
- Unclean transfers: If you miss even one alcohol spray, you can bring in bad organisms.
What To Do When Contaminated
- Do not open contaminated jars inside your home.
- Throw them away in sealed trash bags. It is best to do this outdoors.
- Clean your SAB and tools. Get them ready before you start again.
- Check your materials and how much water they have next time.
You learn how to work cleanly by looking at failed jars.

Fruiting in Jars
Once jars are full of mushroom culture, your mycelium is ready to make mushrooms. This happens if you make the right changes to the environment.
How to Initiate Fruiting in Mason Jars
- FAE (Fresh Air Exchange): Loosen lids. Or drill small holes in the lid and cover them with micropore tape.
- Humidity: Keep the air at 85–90% relative humidity. Use a plastic bin or tent to do this.
- Misting and Fanning: Spray a light mist 1–2 times each day. Also, fan with the jar lid. This helps small mushrooms (pins) grow.
- Light: Give them 12 hours of indirect daylight or LED light each day.
Oyster mushrooms do not like too much carbon dioxide. Good airflow stops strange-looking mushrooms or long, stringy stems. These are signs of too much CO₂.

Harvesting and Reusing Substrate
If you care for them well, you can harvest two or three sets of mushrooms from each jar.
Harvest Timing
- Harvest when the cap is open all the way. But do this before the edges curl up.
- Cut cleanly at the base with scissors. This stops damage to the mycelium left behind.
- Check moisture levels. Make sure the jar does not dry out between mushroom sets.
After the First Flush
- Let the jar rest for 5–7 days in a humid place.
- Mist it daily. Then, wait for new small mushrooms (pins) to form.
- Most jars give 2–3 sets of mushrooms before they run out of food.
You can compost used grain. Or you can use it to add mushroom culture to outdoor garden beds. This works especially well in warmer areas.

Jars vs. Bags, Buckets, and Tubs
How does growing oyster mushrooms in jars compare to other ways?
Pros of Jar Cultivation
- ✅ Good for small spaces—a shelf or cabinet is all you need.
- ✅ You can see inside better—it is easier to spot and take out contamination.
- ✅ Good for learning clean methods with small amounts.
- ✅ Reusable—glass jars can last for years if you use them right.
Cons to Consider
- ❌ Lower yields: You get less mushrooms than from big bags or tubs of substrate.
- ❌ More work: You have to do more by hand when mushrooms are growing, like misting, fanning, and changing airflow.
- ❌ Not for big harvests: You cannot grow a lot of mushrooms this way.
If you want the most mushrooms or grow for sales, jars are not the best way. But for using at home, trying new things, or teaching, they are great.

When Jars Are the Best Choice
Jars are great for specific ways of growing mushrooms. They work well when you want something simple or small.
Ideal Scenarios for Growing in Jars
- 📦 People in apartments or renters who do not have much space.
- 🏫 Schools teaching about fungi or green science.
- 🧪 Mushroom scientists trying out new types or cultures.
- 🛠️ DIYers who want hands-on hobby projects that do not cost much.
Growing oyster mushrooms in jars helps you get good at the basics of home mushroom growing. This gives you key skills for growing more later.

Semi-Sterile Success Without a Lab
You do not need lab-grade tools to grow oysters. Just be careful and use cheap tricks.
DIY Semi-Sterile Methods That Work
- Make an SAB with a clear bin and gloves—it is cheap and works very well.
- Use an Instant Pot to make jars clean if you do not have a pressure cooker.
- Work in a room with no drafts. Turn off HVAC and ceiling fans.
- Always spray gloves, tools, and jar lids with isopropyl alcohol after each step.
This partly clean way is enough to grow oyster mushrooms well at home most of the time.
Is Growing in Jars Worth It?
Yes, it is—if your goals match. Growing mushrooms in jars can be fun and rewarding—but it doesn’t have to be complicated. If you want an easier way to start, ready-to-use grow kits and clean culture products take out most of the guesswork. They let you skip the messy prep work and focus on the fun part: watching your mushrooms grow.
Jar growing isn’t meant for large harvests, but it’s the perfect way to learn and build confidence. Start simple, stay clean, and grow your first flush the easy way—with tools already built for success.
Where to Get Started
To start growing, companies like Zombie Mushrooms sell starter kits, clean jars, and grain ready to get mushroom culture. These tools can make learning much faster. They can also bring your first set of mushrooms closer than you think.
Citations
Stamets, P. (2000). Growing Gourmet and Medicinal Mushrooms (3rd ed.). Ten Speed Press.
Chang, S. T., & Miles, P. G. (2004). Mushrooms: Cultivation, Nutritional Value, Medicinal Effect, and Environmental Impact. CRC Press.
Vilgalys, R., et al. (2006). Department of Mycology, Duke University.
USDA Mushroom Industry Report. (2020). Home mushroom cultivation trends and insights.


