⬇️ Prefer to listen instead? ⬇️

- 🌱 Pasteurization removes harmful organisms while keeping beneficial microbes needed for mushroom growth.
- 🧪 Substrate temperature control between 140–160°F yields best results in microbial balance.
- 🧤 Cold lime pasteurization is energy-efficient and good for large-scale mushroom substrate preparation.
- 🔬 Pasteurization is best for bulk substrates, while sterilization is needed for grain spawn.
- ⚠️ Skipping pasteurization increases contamination risk a lot, making it harder to grow mushrooms well.
When it comes to successful mushroom cultivation techniques, proper mushroom substrate preparation is one of the most important steps. Pasteurizing the substrate—heating it just enough to get rid of harmful pathogens while keeping good bacteria—is a common first step to stop contamination. But is it truly necessary for every grower? In this guide, we’ll talk about why you should pasteurize mushroom substrate, how it works, how it compares to sterilization, and how to do it using methods that work. For beginners who want to skip the complexity of substrate prep, grow bags offer a convenient, ready-to-use option that makes cultivation much easier.

Why Pasteurize Your Mushroom Substrate?
Pasteurization is a way of heating often used in mushroom cultivation to cut down the number of organisms present in a substrate, picking which ones. The purpose isn’t to completely sterilize the material but to get a balance of microbes that helps the mushroom mycelium. When done correctly, pasteurization gets rid of many things that compete like mold spores, nematodes, and fly larvae and keeps microbes that are good for, or at least don't hurt, the type of mushroom you’re growing.
In mushroom cultivation, bulk substrates such as straw, sawdust, compost, or coco coir may contain lots of unwanted bacteria, fungi, or insects that can quickly win against the mycelium during colonization. This makes pasteurization especially important for fast-spreading fungi like oysters (Pleurotus spp.) and lion's mane (Hericium erinaceus), which are commonly grown on partially decomposed substrates.
Advantages of Pasteurization
- ✅ Reduces contamination from mold, bacteria, and pests
- ✅ Keeps beneficial bacteria that stop bad microbes from growing
- ✅ Helps mycelium grow healthy and fast
- ✅ Easier and more energy-efficient than full sterilization
- ✅ Good for non-sterile environments and hobbyist setups
What’s the Difference Between Pasteurization and Sterilization?
While both processes try to stop contamination, pasteurization and sterilization have different jobs and are very different in how strong they are.
Pasteurization
- 🔥 Temp Range: 140°F–176°F (60°C–80°C)
- 🦠 What it does to microbes: Cuts down harmful microbes a lot while keeping some beneficial organisms.
- 💡 When it works best: Bulk substrates like straw, coco coir, compost, and manure that are better off keeping some small organisms.
Sterilization
- 🔬 Temp Requirement: 250°F (121°C) under pressure (usually with a pressure cooker or autoclave)
- 🧼 What it does to microbes: Kills all organisms—harmful and beneficial alike.
- 📦 When it works best: Nutrient-dense substrates like grain spawn and wood pellets that are very likely to get contaminated.
Choosing the Right Treatment
For most home growers, pasteurization is sufficient for substrates like straw or coco coir. However, if you’re inoculating a high-nutrient substrate like rye grain or using commercial inoculation techniques, sterilization is needed to avoid getting contaminated almost right away.

The Materials You'll Need to Pasteurize at Home
Fortunately, effective pasteurization doesn’t require fancy lab equipment. Most of the tools can be found in your kitchen or local hardware store. Let’s look at what you need for each method.
🔥 Hot Water Bath Setup
Good for straw, wood chips, or compost.
- Large cooking pot or 5-gallon metal container
- Propane burner or kitchen stove
- Thermometer with a probe (digital is better for being exact)
- Mesh bags or nylon laundry bags
- Tongs or gloves (resistant to heat)
- Timer and cooling rack
🧂 Cold Lime Bath Setup
A non-thermal pasteurization way that uses high pH instead of heat.
- Agricultural lime (with at least 90% calcium carbonate)
- pH meter or reliable pH test strips
- Large plastic tote (food-safe Rubbermaid-style bins)
- Mesh bags or strainers
- Unchlorinated water (chlorine may affect substrate pH)
⚠️ Safety Tips
- Always wear gloves when handling hydrated lime—it is caustic.
- Make sure it drains well after pasteurizing to avoid waterlogging.
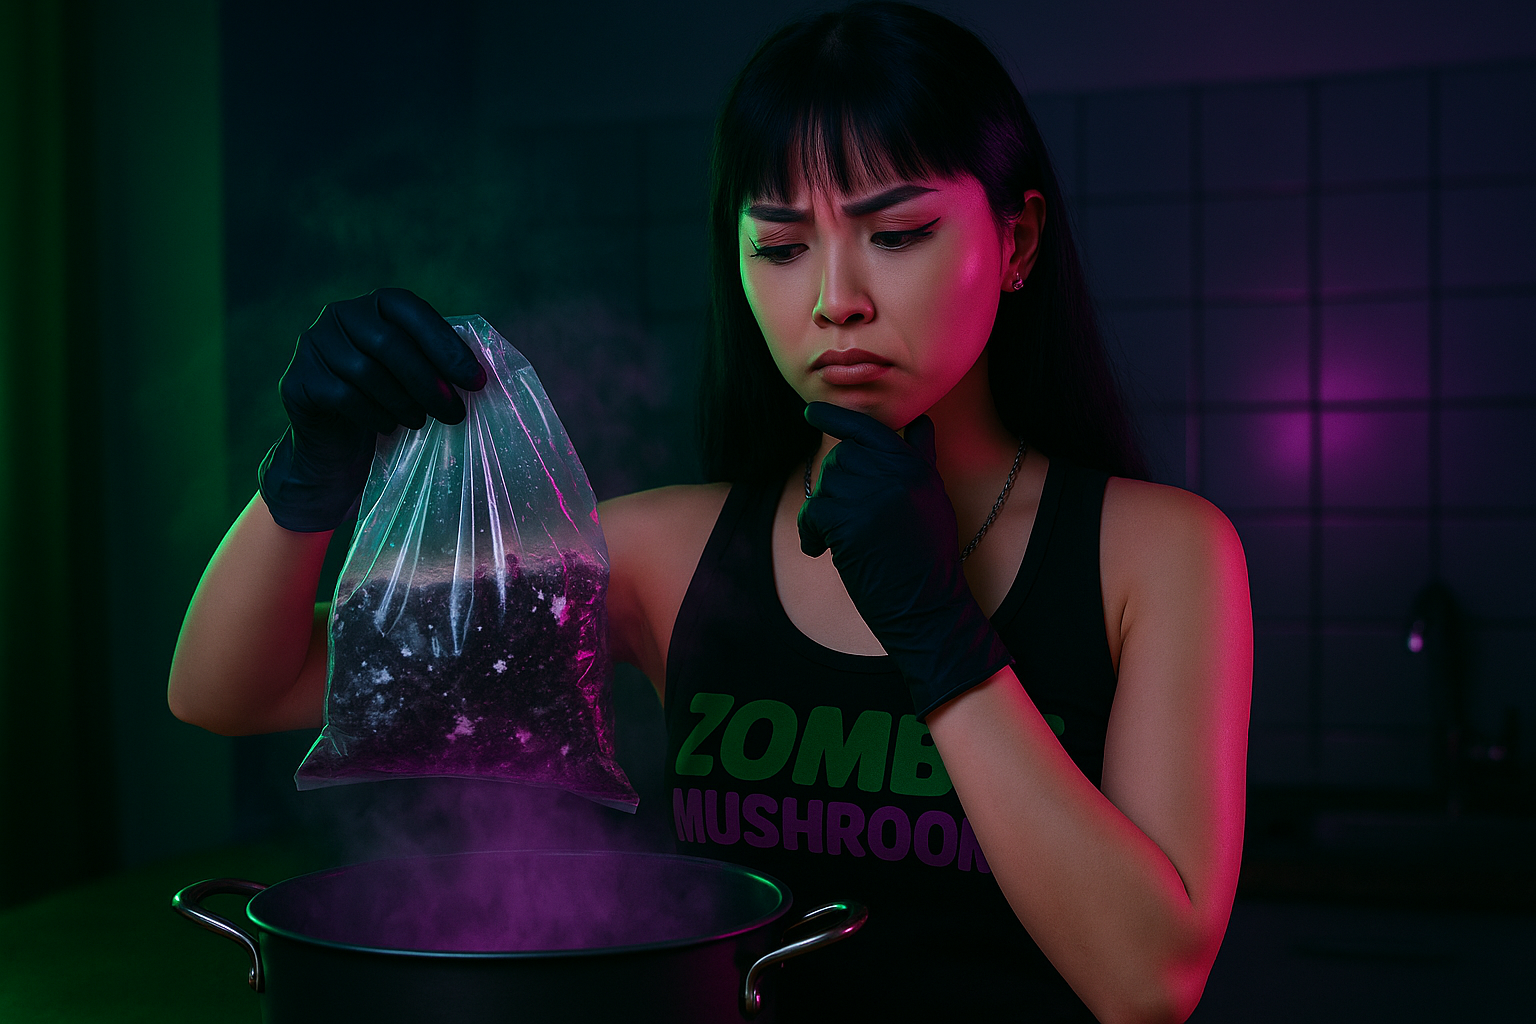
Choosing ready-to-use products from trusted mushroom suppliers like Zombie Mushrooms (offering pasteurized substrates and grain spawn) is also helpful for beginners not sure how to do it.

How to Pasteurize Substrate: 6 Reliable Methods
Different pasteurization methods work for different materials and amounts. Here's a look at six ways that work to pasteurize your mushroom substrate and get ready to grow mushrooms well.
1. Hot Water Bath
One of the most traditional and effective methods.
- Heat water to 160–170°F (71–76°C) in a large pot.
- Submerge your filled mesh bag of substrate for 60–90 minutes.
- Monitor and maintain temperature throughout the process.
- Remove, drain thoroughly, and cool to room temp before use.
✅ Best For: Straw, compost, manure mixes
⚙️ Difficulty: Moderate
🔥 Energy Usage: High
2. Bucket TEK
A simpler, low-tech hot pasteurization method.
- Place your dried, pre-cleaned substrate in a 5-gallon bucket.
- Pour boiling water over it until fully submerged.
- Cover with a lid and wrap in towels or insulation to retain heat.
- Allow to sit for 8–12 hours.
- Drain and cool before use.
✅ Best For: Straw, coco coir
⚙️ Difficulty: Easy
🔥 Energy Usage: Moderate
3. Steam Pasteurization
Uses steam to gently pasteurize substrate.
- Place substrate on a steel rack inside a pot above boiling water.
- Cover and steam for 1–2 hours while monitoring temperature.
- Turn off heat, let the substrate cool while still covered.
✅ Best For: Small batches of wood chips or sawdust
⚙️ Difficulty: Moderate
🔥 Energy Usage: High
4. Oven Pasteurization
Great for indoor growers who have ovens.
- Fill baking pans or roasting bags with hydrated substrate.
- Bake in the oven at 160–165°F (71–74°C) for 1 hour.
- Let cool before using for inoculation.
✅ Best For: Coco coir, manure mixes
⚙️ Difficulty: Easy
🔥 Energy Usage: Moderate
5. Microwave Method (Small Batches Only)
Quick fix for test batches or very small grows.
- Place damp but not dripping substrate in a microwave-safe container.
- Microwave on high for 3–5 minutes per pound.
- Let cool completely before using.
✅ Best For: Test grows, special small grows
⚙️ Difficulty: Easy
🔥 Energy Usage: Low
6. Cold Lime Bath
Requires no heating—uses high pH to kill things you don't want.
- Mix ½ to 1 cup of agricultural lime per 5 gallons of water.
- Adjust to pH 12 or higher.
- Submerge substrate in solution for 12–24 hours.
- Drain and let rest 3–6 hours before spawning.
✅ Best For: Straw, coco coir
⚙️ Difficulty: Moderate (you need to manage pH)
🔥 Energy Usage: None

5 Easiest Cold Water Pasteurization Methods
Cold lime pasteurization, also called the lime soak method, is low-energy and scalable. Here are five ways to do it, good for different skill levels.
1. Basic Lime Soak
- Submerge substrate in a lime solution inside a plastic bin using mesh bags for 12–24 hours.
2. Soak & Agitate
- Stir sometimes the soaking substrate to make sure it all gets soaked and kill more contamination.
3. Multi-bin Rotation
- Rotate bins every few hours to pasteurize in batches, good for bigger setups.
4. Weighted Compression Soak
- Place a clean plate or weight on top of the substrate to keep it fully submerged and evenly exposed.
5. Cold Coir Compression Soak
- Compress hydrated bricks of coir into lime solution letting them expand over time, getting the most out of the soak.
These methods work best with loose, airy materials that let the water soak in and drain out well.

How Long Does it Take to Pasteurize Mushroom Substrate?
The timing can change depending on the method:
- 🕒 Hot water pasteurization: 60–90 minutes
- 🕒 Steam pasteurization: 1–2 hours
- 🕕 Cold lime soak: 12–24 hours for killing all the bad stuff
Always aim to reach “field capacity” moisture—when you squeeze the substrate and only a few drops come out. Too much water can slow down mycelium growth and bring in bad bacteria.

Common Mistakes to Avoid
Even experienced growers make mistakes when preparing mushroom substrate. Here are mistakes you should avoid:
- 🔥 Overheating: Temperatures above 180°F (82°C) can sterilize rather than pasteurize, killing helpful microbes.
- 🧽 Not Cleaning Enough: Failing to rinse or remove dust/debris from straw or sawdust leaves bacteria hiding places.
- 🧪 Not Checking pH: Especially in lime methods, not checking the pH may make it less good at killing bad stuff.
- 💧 Draining Badly: Leaving the substrate too wet brings in contamination.
- ☠️ Materials Not Safe to Use: Avoid plastic containers or bags not made for food or heat use.
Doing it the same way each time is important. Figure out a way to do it and keep doing it that way to get results you can count on every time.

After Pasteurization: What’s Next?
Once pasteurized, you should handle the substrate in a clean place and fast to avoid re-contamination.
🚀 Steps After Pasteurizing:
- Allow substrate to cool completely.
- Mix in spawn in a clean place—gloves recommended.
- Pack into growing containers like monotubs or filtered patch grow bags.
- Incubate in a warm, dark room (~70–75°F or 21–24°C).
- Wait for full colonization (typically 7–14 days depending on species).
Avoid direct sunlight and moving it around while the mycelium is growing, which is important. Get thermometer/hygrometer combos to keep the growing conditions just right.

Additional Tools and Kits
Starting out might seem like a lot, but today’s market offers things that make it easy to start. Companies like Zombie Mushrooms make it easy to get started with:
- 🛍️ Fully pasteurized, ready-to-use substrate bags
- 💉 Liquid culture syringes for making spawn grow fast
- 🧬 Sterilized grain spawn (ready for inoculation)
- 🌿 Beginner to pro-level mushroom grow kits
Trying mushroom cultivation kits can get better at growing before doing the substrate yourself.
So, is it necessary to pasteurize mushroom substrate?
Yes, it is. Unless you’re growing in sterile, controlled environments with sterilized substrates, pasteurization is your best friend. It’s the middle ground that saves your time and money while giving your fungi a strong, healthy start.
Think of it as building the base of a mushroom-growing house—strong, stable, and ready to help you get lots of mushrooms. With the choice between hot or cold methods, fitting this important step to your space and budget is easy.
Yield more. Worry less. And most importantly, have fun growing mushrooms.
Citations
- Royse, D. J. (2014). Mushroom cultivation in the 21st century: trends and technological innovations.
- Stamets, P. (2000). Growing gourmet and medicinal mushrooms (3rd ed.). Berkeley, CA: Ten Speed Press.
- Kimmons, C., & Ferguson, A. (2008). Thermal pasteurization of bulk substrates for mushroom cultivation. USDA Research Publications.

